How to Unblock Camera on Google Meet
July 10, 2024
July 10, 2024
October 7, 2025
October 7, 2025

Google Meet is a popular platform for video conferencing, but sometimes your camera just won’t cooperate. A blocked camera can derail a meeting before it even starts. Understanding why this happens and how to fix it can save you time and stress. Before joining, do a quick Google Meet test to confirm your camera and microphone are ready. If you’ve run into camera problems, this article will walk you through the fixes step by step.
Here’s what this guide covers:
- The most common reasons your camera gets blocked in Google Meet
- New settings, like host lock and dynamic layouts, that affect video
- How to connect and use external cameras or document cameras
- Fixes for camera block issues on iOS and Android devices
- Steps to resolve “camera failed” errors and black screen problems
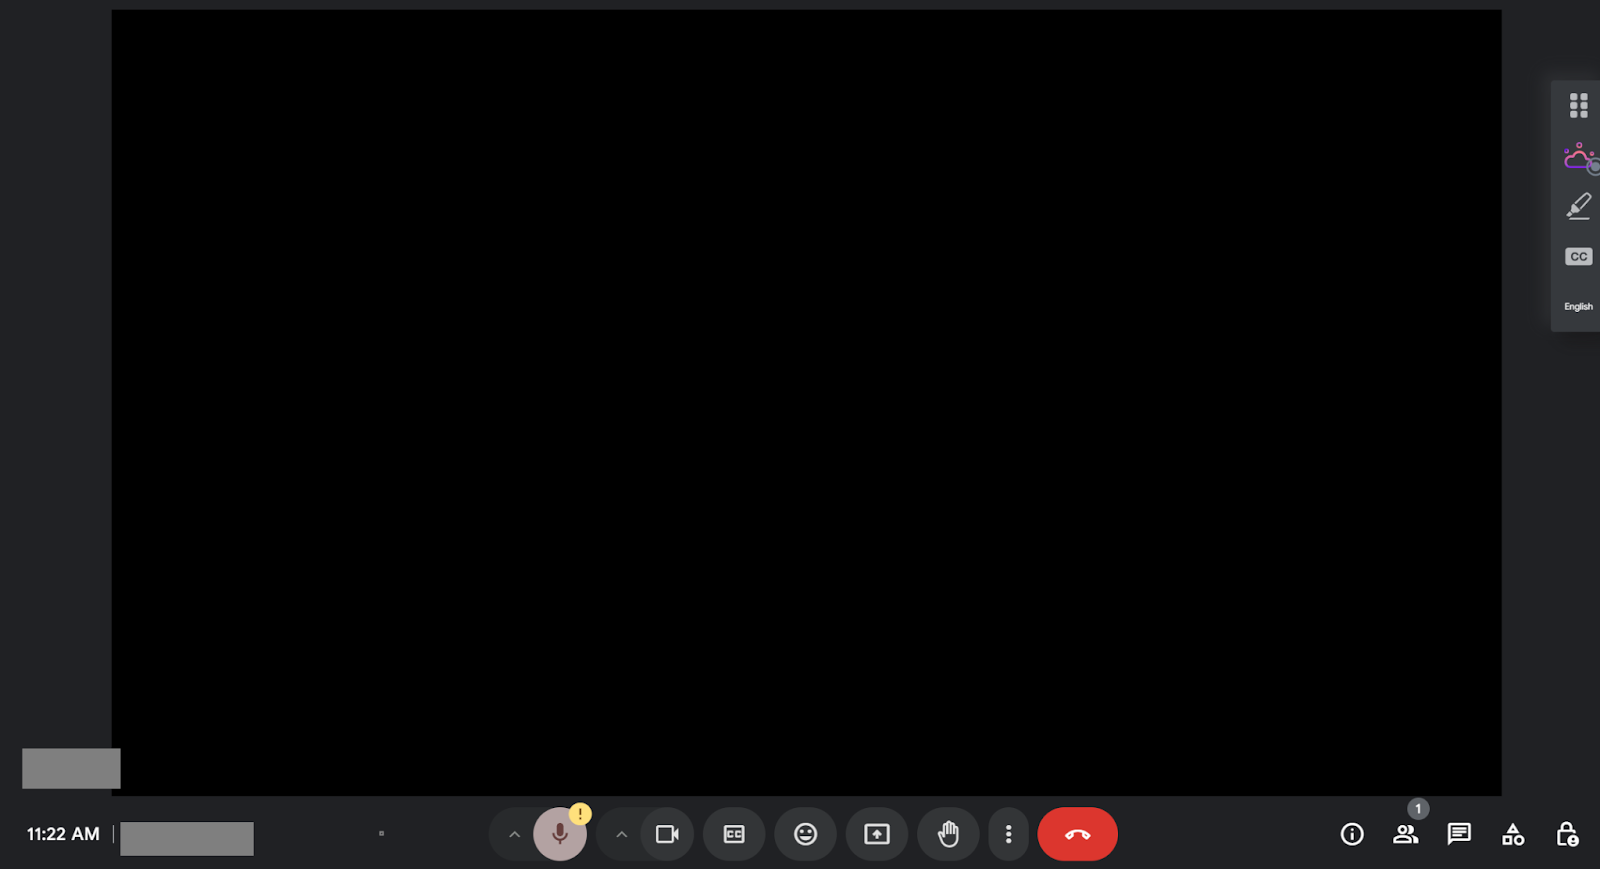
What Causes Camera Block Issues on Google Meet
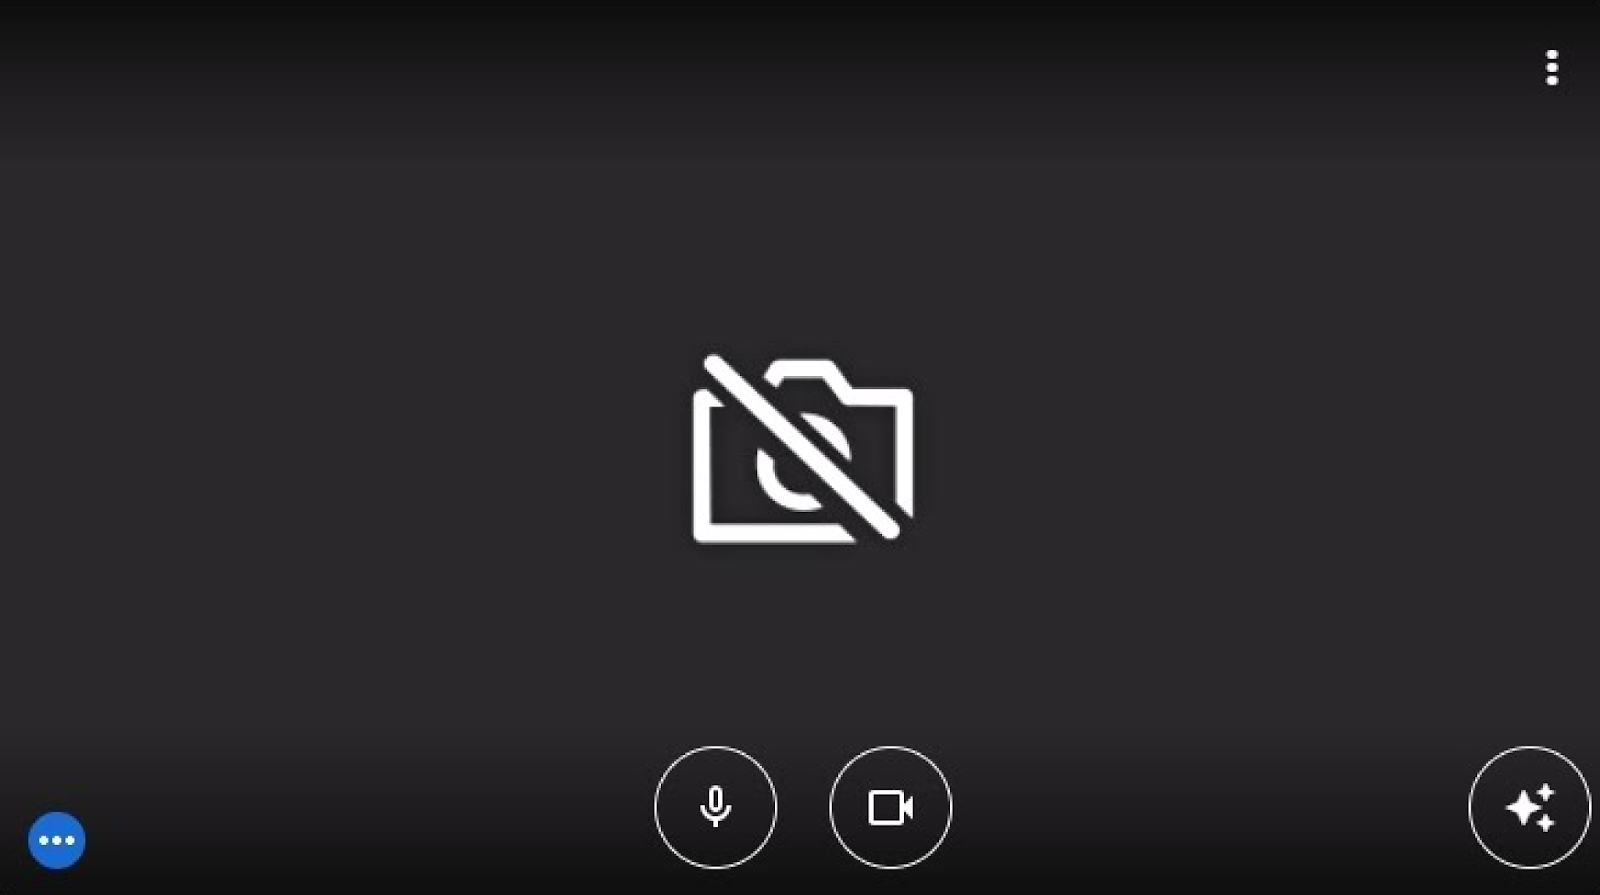
Image from Google
Several factors can block your camera in Google Meet. These range from simple permission settings to system-level restrictions. Knowing the root cause makes it easier to fix.
Incorrect permissions in the browser
If Meet doesn’t have permission to use your camera, it won’t turn on. Check your browser settings and allow camera access for https://meet.google.com. In Chrome, for example, you’ll see a small camera icon in the address bar. Click it and select Always allow.
Conflicts with other applications
If another app is already using your camera, Meet won’t be able to connect. Close video tools like Zoom, Skype, or Teams, as well as background apps or browser tabs that might be capturing video. Sometimes audio problems like echo can also affect your call quality while another app is running.
💡 Pro tip: Don’t lose meeting notes while fixing tech issues. Use Tactiq with Google Meet for real-time transcription and AI note-taking. Free to get started.
Meeting camera is locked by the host
Google Meet now allows hosts to control participant video. If your host has restricted cameras, you’ll see your video disabled until they unlock it.
Hardware or device issues
A physical camera cover, privacy slider, or loose cable can also block access. On some laptops, you’ll see a small light or switch when privacy mode is enabled. Always check your device’s camera app (like Camera on Windows or Photo Booth on macOS) to confirm if the issue is hardware-related.
Wrong camera selected
Sometimes, Meet chooses the wrong input, like a virtual camera or screen device. Open Meet settings and manually select the correct camera from the list.
Slow or unstable internet
A weak connection doesn’t usually block your camera, but it can cause video to appear frozen or black. Test your connection speed and switch to a stable Wi-Fi or wired network if possible.
Dynamic layouts
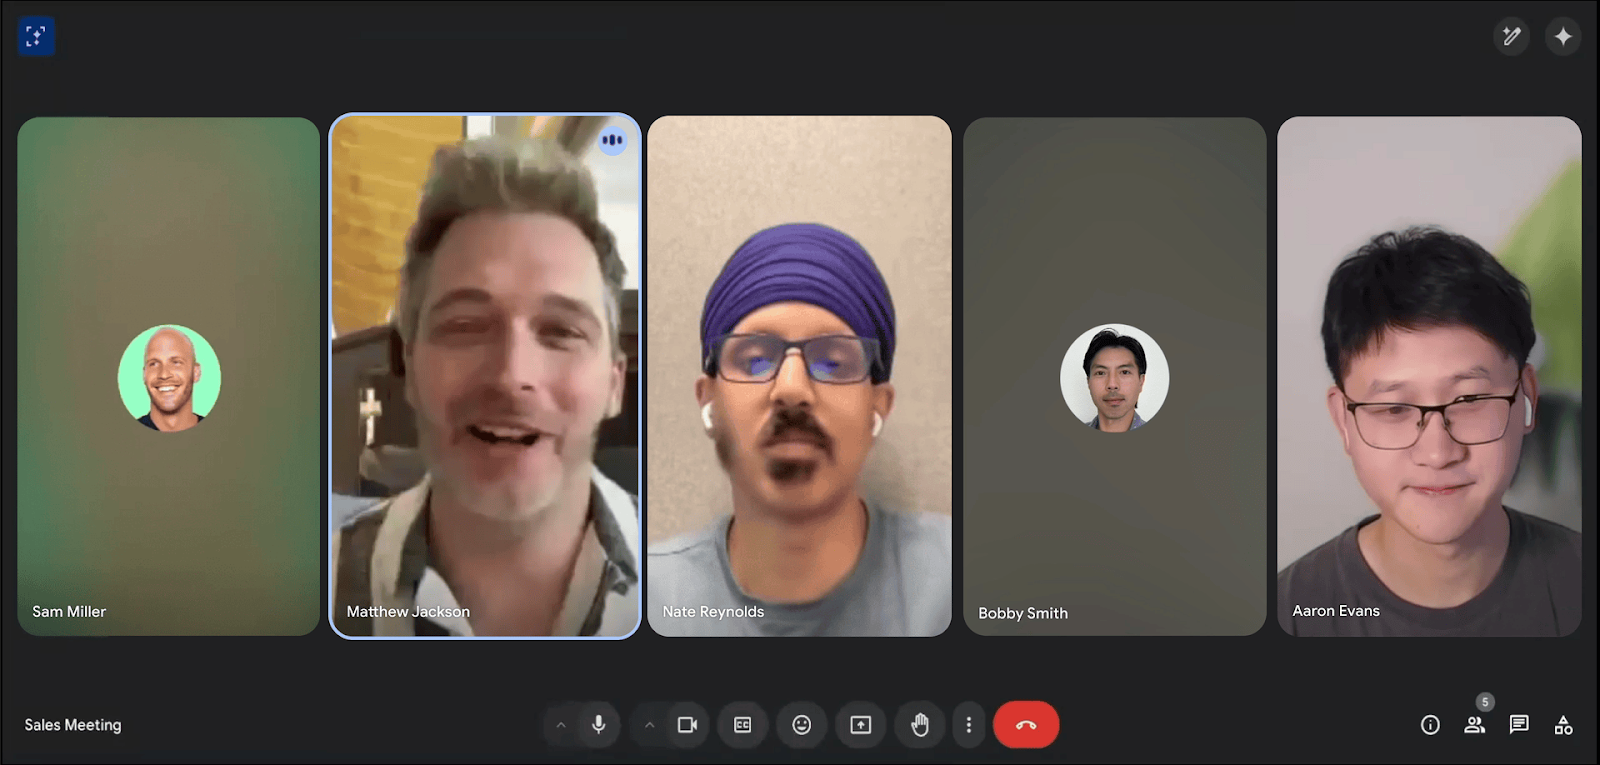
Image from Google
Meet now uses AI-driven layouts to adjust how participants appear on screen. In rare cases, this can resize or hide your feed temporarily. If your video isn’t visible, check the layout options in the meeting controls.
Using External Cameras On Google Meet
Google Meet now supports external webcams and document cameras for sharper video and more interactive presentations. This is helpful if your built-in camera app doesn’t give the quality you need, or if you want to display physical documents and objects. Just make sure your device is properly connected to a USB port before starting your call.
How to switch between cameras
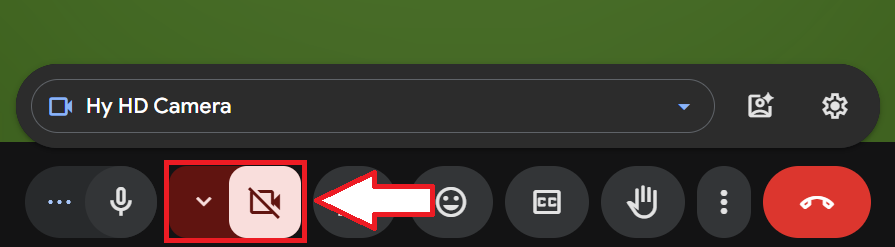
- Join your meeting in Google Meet.
- Next to the camera icon, click the small arrow. A pop-up will show all available devices.
- Select the camera you want to use. This could be an external webcam, document camera, or the default camera lens.
- For more adjustments, click More options (three vertical dots) > Settings.
- Under Audio, change your microphone or speakers.
- Under Video, select the camera and adjust video quality.
If you have multiple cameras, you can switch between them anytime during the meeting using this menu.
How to present from a camera
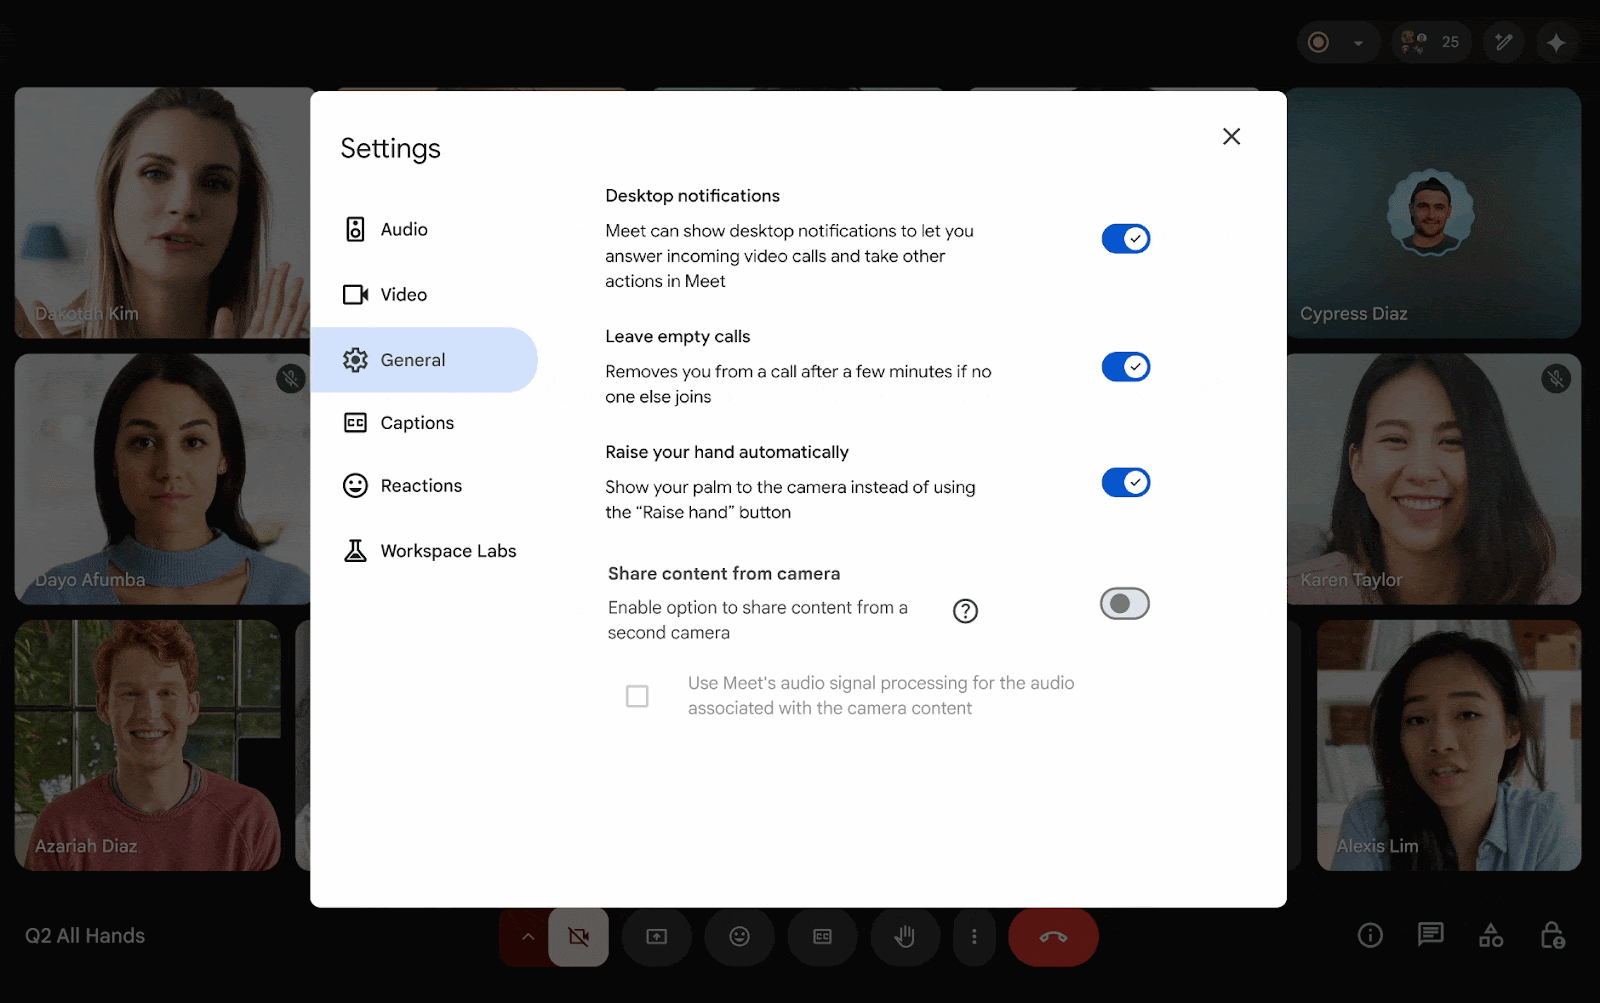
Image from Google
You can also present live content directly from a camera in Google Meet. This feature is available on certain Google Workspace editions such as Business Standard, Business Plus, Enterprise, Education Plus, Teaching and Learning Upgrade, and Google Workspace Individual.
- Enable the option first:
- In Meet, click More options > Settings > General.
- Turn on Share content from camera.
- (Optional) If your camera has a built-in microphone, you can enable Meet’s audio processing to reduce echo.
- Present from a camera during a meeting:
- At the bottom, click Present now > Camera.
- Choose your document camera or other external webcam.
- Click Share to start showing live video to participants.
- Using production tools: If you connect a video production tool, you can also share higher-quality, dynamic video. Meet will support uncropped content at up to 1080p and 30fps.
How to Check and Update Your Browser for Camera Access
Keeping your browser up to date is essential for smooth Google Meet calls. Updates often bring bug fixes, better compatibility, and stronger security. An outdated browser can block access to your camera or cause the dreaded camera failed error.
Update Google Chrome
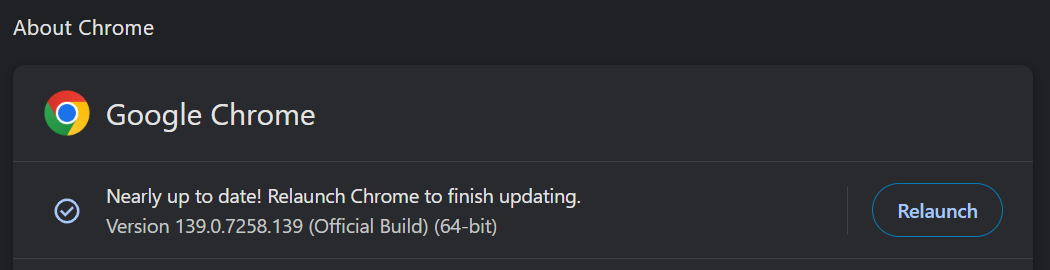
- Open settings in Chrome by clicking the three dots in the top right corner.
- Go to Help > About Google Chrome.
- Chrome will automatically check for the latest version and install it.
- Click Relaunch or simply restart Chrome to apply changes.
Update Safari
- On a Mac, click the Apple menu and select App Store.
- Choose Updates.
- If Safari has an update, click Update.
Update Firefox
- Click the three horizontal lines in the top right corner of Firefox.
- Select Settings.
- Under General, scroll to Firefox Updates.
- Click Check for updates and install if available.
Update Microsoft Edge
- In Edge, click the three dots in the top right corner.
- Select Settings, then About Microsoft Edge.
- Edge will download the latest drivers and updates if available.
- Restart the browser to finish.
Why browser updates fix camera issues
- Updates prevent your browser from trying to block access to hardware.
- Bug fixes resolve conflicts that trigger camera issues.
- Improved site permissions ensure Meet can access your camera reliably.
- Security patches stop other apps or malicious sites from hijacking your camera lens.
💡 Tip: If the problem persists even after updating, clear your cache and cookies. This often removes conflicts with camera permissions.
Camera Block Issues On Mobile Devices
Even if your browser and camera settings are correct, the Google Meet app can still run into camera issues on mobile devices. A quick check in your phone’s privacy controls usually fixes the problem.
On iOS
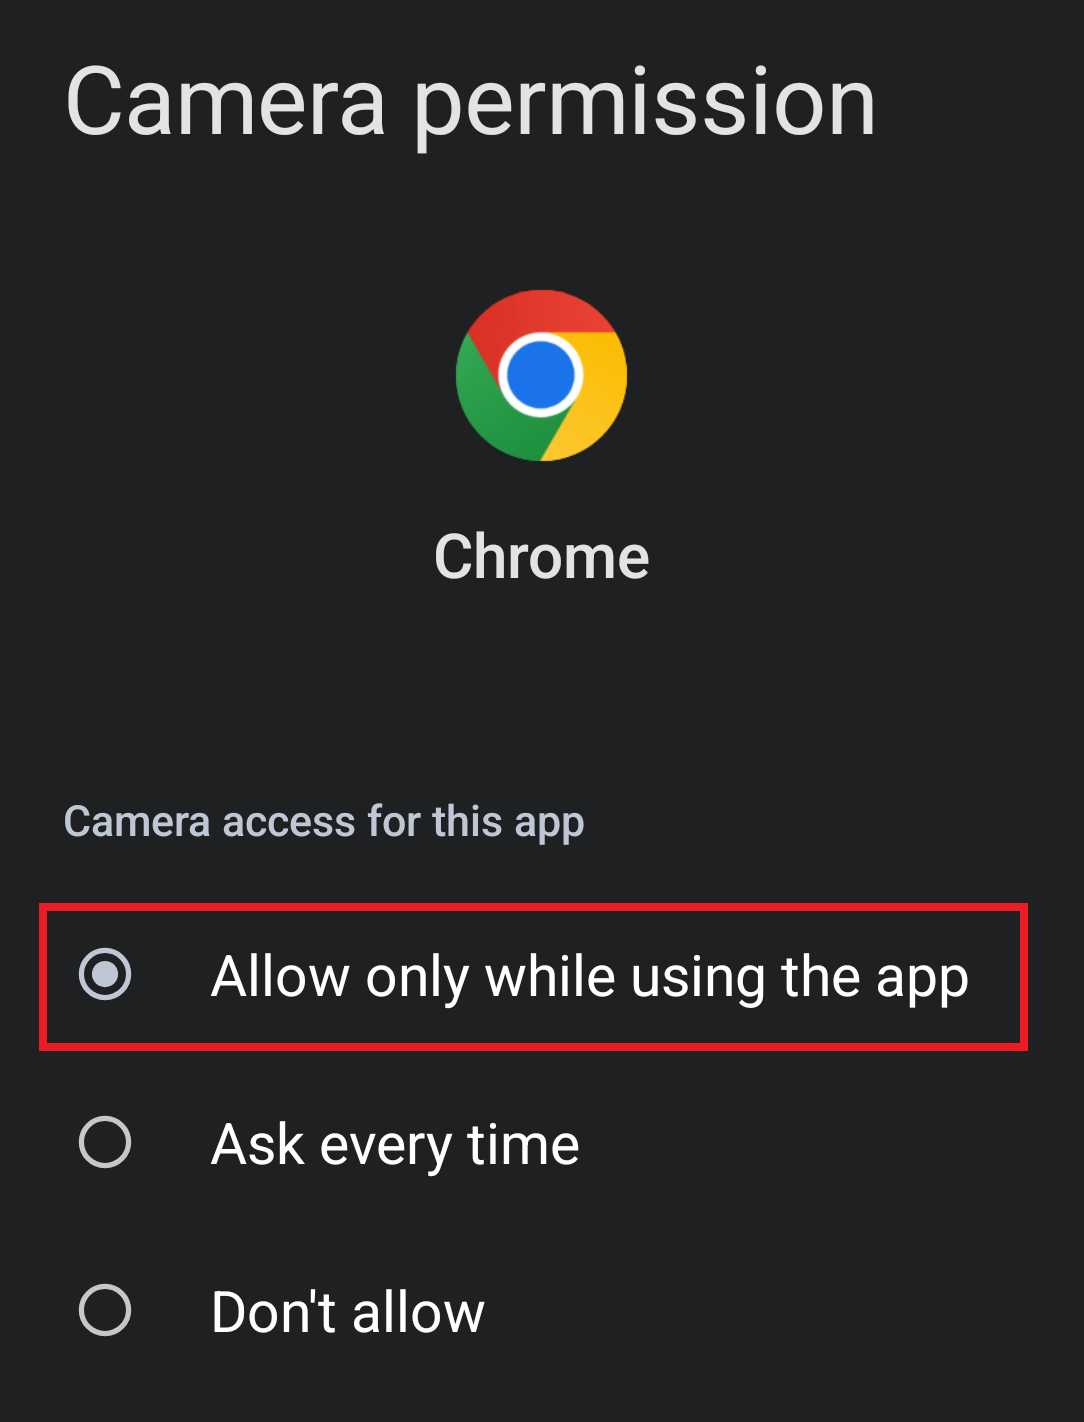
- Open Settings on your iPhone or iPad.
- Go to Privacy & Security > Camera.
- Make sure the toggle is on for the browser or the Google Meet app.
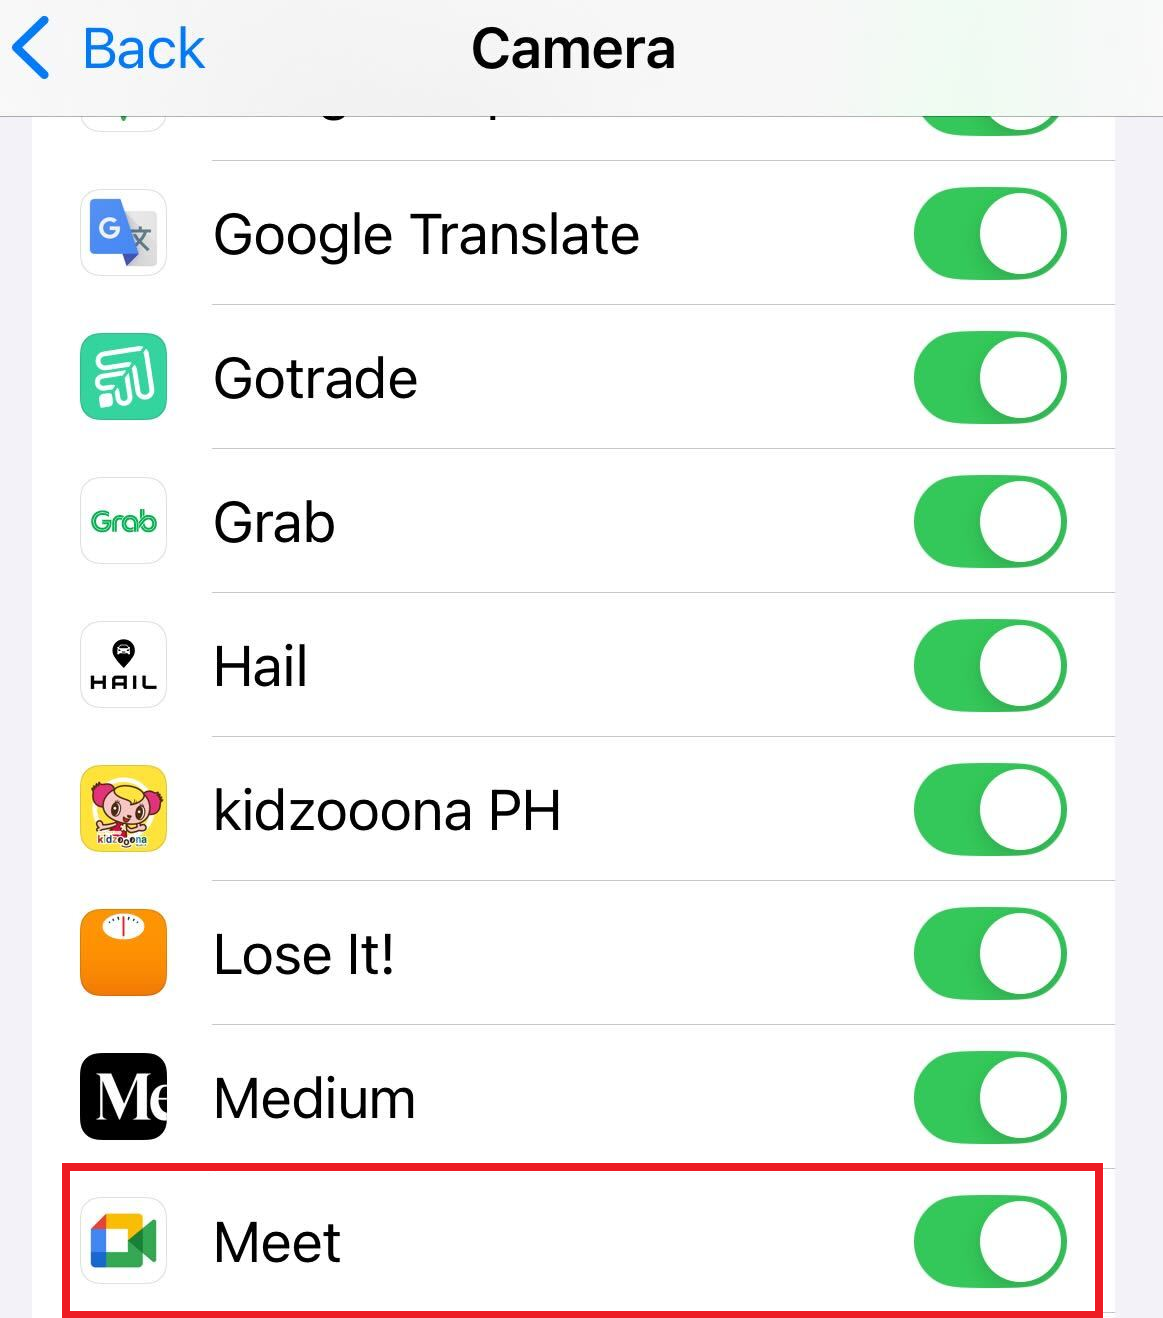
On Android
- Open Settings on your phone.
- Tap Apps > Chrome.
- Go to Permissions > Camera.
- Select Allow only while using the app.
💡 Tip: If your camera still won’t start, close other apps using the lens and relaunch the Meet app. Restarting the device can also resolve hidden hardware issues.
Troubleshooting "Camera Failed" Errors
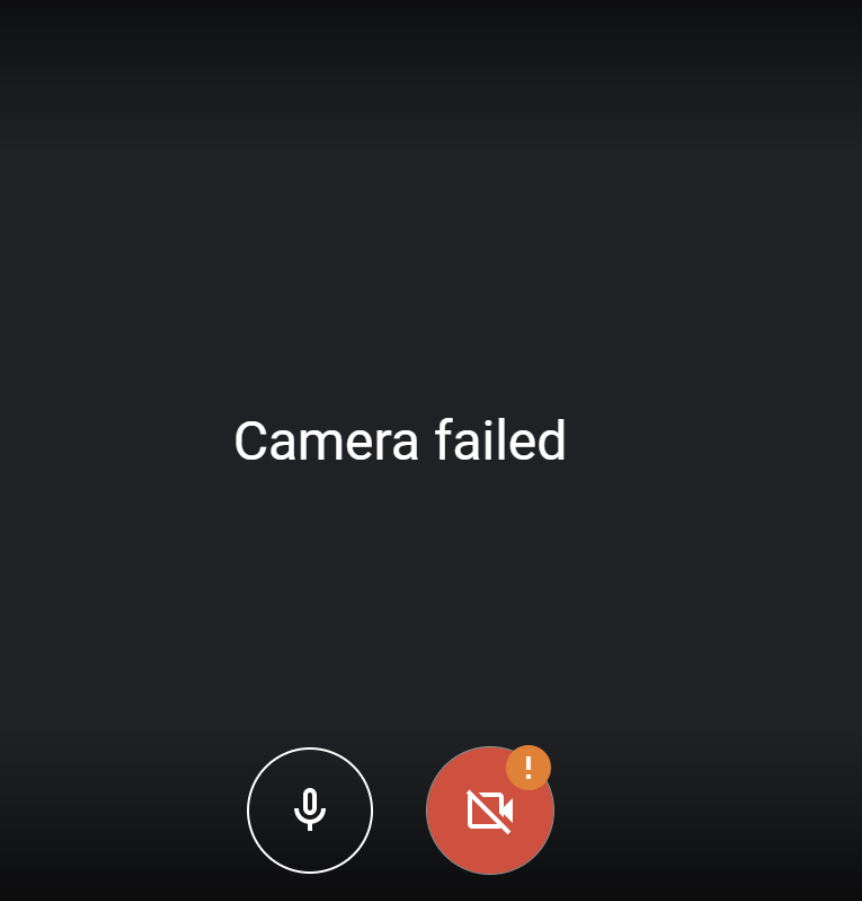
Seeing a camera failed error in Google Meet usually means your browser can’t access your camera. Here are some troubleshooting steps to get back on track:
Check connections and hardware issues
- Make sure your external webcam or built-in lens is properly connected and turned on.
- Test with a built-in camera app like Camera on Windows or Photo Booth on macOS. If the camera works there, the problem is with Meet or your browser settings.
- Inspect for a camera cover or privacy switch and move it to the open position.
Review camera permissions
- In Google Chrome, click the camera icon in the address bar. If you see a red cross, select Always allow for https://meet.google.com.
- Go to site settings or site permissions in your browser and confirm that Meet is allowed to access your camera and microphone.
- If you’ve blocked access before, delete the entry and refresh Meet.
Update your browser
Running the latest version of Chrome, Safari, Firefox, or Microsoft Edge prevents errors and applies important bug fixes. In Chrome, for example, open the menu in the top right corner, go to Help > About Google Chrome, then restart Chrome after updating.
Clear conflicts
- Close other apps that may be using your camera lens.
- Disable browser extensions temporarily.
- Clear your browser cache and cookies.
Once your camera works, you can also add some personality by trying funny Google Meet backgrounds.
What to Do If You See a Black Screen or Crossed-Out Camera Icon
If you get a black screen or see a crossed-out camera icon, try these quick fixes:
- Open a built-in camera app like Camera on Windows or Photo Booth on macOS. If the camera works there but not in Meet, check your camera permissions in the browser or system settings.
- Make sure the camera lens isn’t blocked by a camera cover or privacy switch. Many laptops have a slider above the lens, while some Chromebooks include a side switch with a red or amber light.
- On devices with a software privacy switch, go into your camera settings and turn it off.
- For Chromebook users, if the problem persists, reset your hardware and test again.
How Tactiq Can Help When You Face Camera Issues
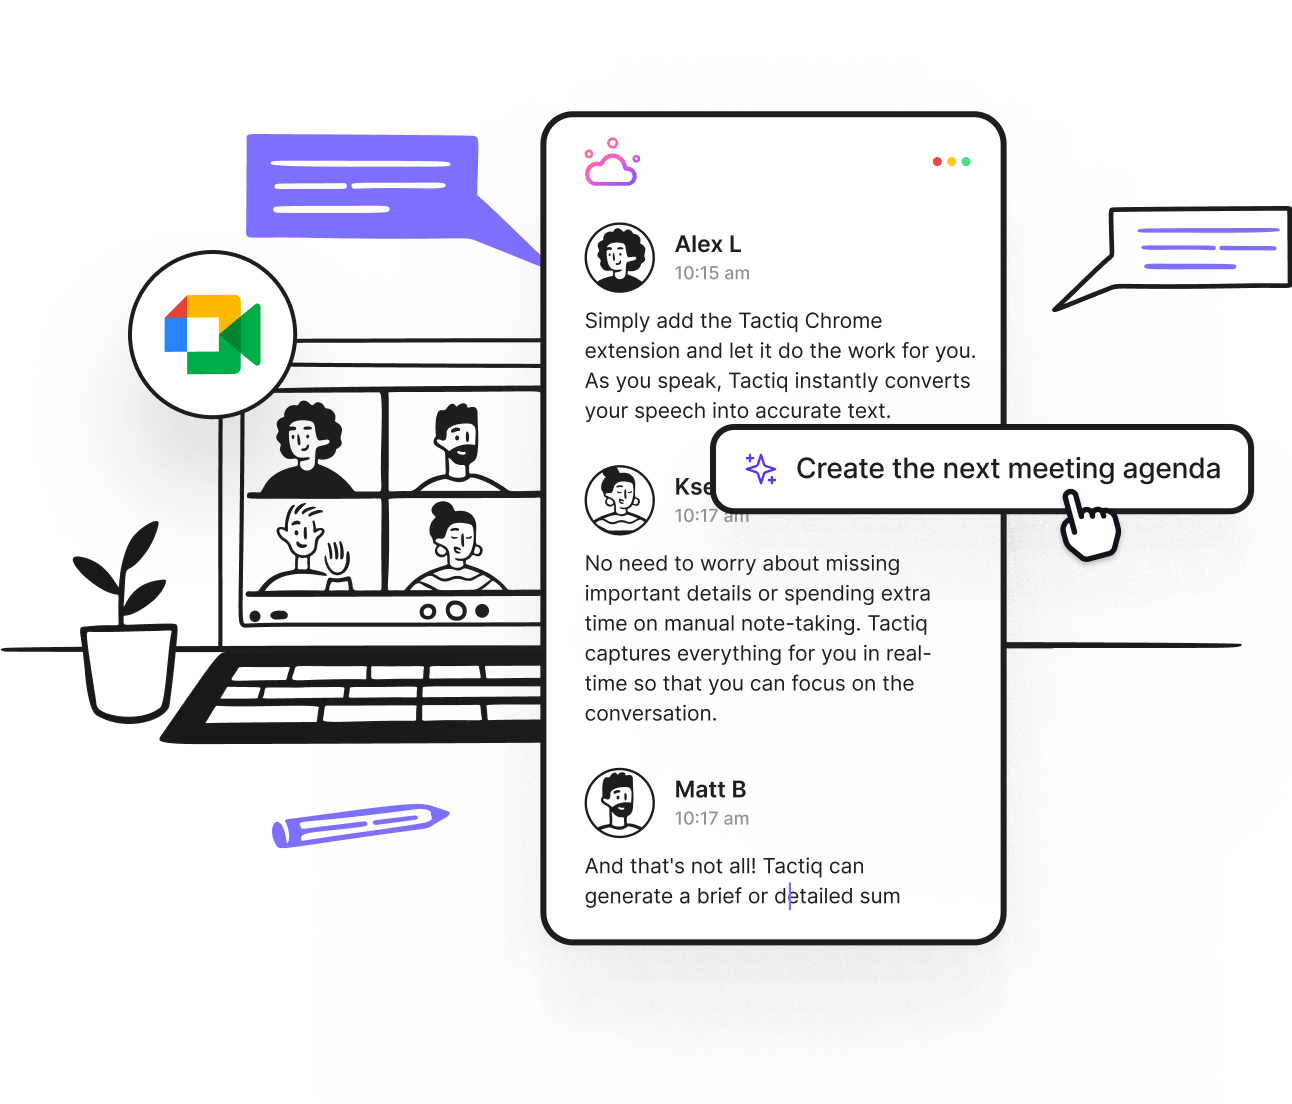
A blocked camera can slow down your meeting, but that doesn’t mean you have to miss important details. Tactiq is an AI-powered tool that works with Google Meet, Zoom, and Microsoft Teams to keep you focused while troubleshooting.
Key benefits of Tactiq
- Real-time transcription: Tactiq automatically captures every word as the conversation happens. You’ll see a live transcript on your screen, so even if your camera isn’t working, you can still follow along without missing context.
- AI meeting kits & prompts: Tailor GPT-powered prompts to automate actions from your discussions. Create personalized AI meeting notes or turn transcripts into insights that fit your role.
- AI workflows: Transform your transcripts into follow-up emails, project updates, documentation, or other outputs in just a click, so meetings instantly translate into action.
- Search & highlights: Quickly find steps or key points your colleagues shared.
- Real-time translation: Transcribe meetings in 50+ languages and translate live during the call.
💡 Pro tip: Upload past meetings or voice recordings into Tactiq to generate transcripts and insights. Perfect for reviewing what you missed while fixing camera issues.
With Tactiq, you’ll always have a full transcript, automatic notes, and clear action items, even if your camera access fails.
👉 Install the Tactiq Chrome Extension for free and keep your Google Meet productive, even when your camera isn’t working.
{{rt_cta_ai-convenience}}
Ensuring Smooth Camera Functionality on Google Meet
Dealing with a blocked camera can be frustrating, but most camera issues can be solved quickly once you know the cause. Checking camera permissions, closing other apps, adjusting your camera settings, and reviewing for a camera cover or privacy switch often solves the problem. Updating your browser to the latest version and restarting your device are also reliable fixes if the problem persists.
And when tech problems interrupt your call, you don’t have to miss what’s said. Tools like Tactiq give you a full transcript, searchable notes, and even AI workflows to turn conversations into action, so your meetings stay productive even if your camera access fails.
FAQs About How to Unblock Camera on Google Meet
How do I unblock the camera in Google Meet?
Check your browser’s camera permissions in site settings, click the camera icon in the address bar, and select Always allow. Restart Meet, and your camera should work.
Why is Google Meet blocking my camera?
Google Meet may block your camera if permissions aren’t enabled, other apps are using the camera, the host has locked video, or if a privacy switch or camera cover is closed.
How do I unblock the camera on Google?
Go to your device settings and allow apps to access your camera. In browsers like Google Chrome, open site permissions and grant camera access to Meet. Refresh and rejoin the call.
Why is Google Meet not letting me turn my camera on?
Your camera settings may be blocked, your internet connection may be unstable, or the host may have disabled video. Check for hardware issues and confirm you’re using the correct device.
Can I still track who attended if my camera didn’t work in Google Meet?
Yes. Even if you faced camera issues, you can confirm participation details afterward with a Google Meet attendance report.
Your camera can be blocked due to incorrect browser permissions, conflicts with other applications using the camera, or physical hardware issues like a closed camera cover or privacy switch. Identifying the specific cause helps you resolve the problem quickly so you can join meetings without delay.
Updating your browser ensures compatibility with Google Meet and often resolves camera access problems by fixing bugs and improving security. Simply go to your browser’s settings, check for updates, and restart the browser to apply changes, so you can avoid technical interruptions during meetings.
First, check for hardware issues by testing your camera in another app and ensuring no physical cover or privacy switch is blocking it. If the hardware is fine, review your browser and system permissions, update drivers, and clear your browser cache to restore camera functionality and keep your meetings running smoothly.
Managing both browser and system-level permissions ensures that Google Meet can access your camera without restrictions. By regularly checking these settings, you minimize disruptions and guarantee a seamless video conferencing experience.
Tactiq provides real-time transcriptions, automatic note-taking, and searchable meeting summaries, so you never miss important information even if your camera isn’t working. This allows you to focus on troubleshooting while staying connected and informed throughout your meetings.
Related articles


_Main.jpg)


Want the convenience of AI summaries?
Try Tactiq for your upcoming meeting.
Want the convenience of AI summaries?
Try Tactiq for your upcoming meeting.
Want the convenience of AI summaries?
Try Tactiq for your upcoming meeting.