How to Screen Record Zoom Meeting
August 27, 2024
August 27, 2024
June 12, 2025
June 12, 2025

Screen recording your Zoom meetings can be incredibly useful for capturing important discussions, creating training materials, or saving webinars for future reference. With Zoom's built-in recording features, it's easier than ever to record, save, and share your meetings. In this guide, we'll walk you through the process step-by-step, ensuring you can screen-record Zoom meetings with confidence and ease.
For more information on managing your recordings, learn how to access Zoom cloud recordings and where to find Zoom recordings.
Common Use Cases for Zoom Screen Recordings
People use Zoom screen recordings in various scenarios:
- Business Meetings: Capture important discussions and decisions.
- Online Classes: Record lectures for students to review later.
- Webinars: Save presentations for future reference.
- Training Sessions: Create training materials for new employees.
Zoom's screen recording features make it a versatile tool for many needs.
Screen Recording on Zoom With Host Permission
The host controls many aspects of the Zoom meeting, including the ability to record. By default, only the host has the permission to start a recording. This ensures that the host manages the content and decides how it's shared.
Methods to Request Recording Permission from the Host
- Ask Directly:
- The simplest way to gain screen recording permission is to ask the host. During the Zoom meeting, use the chat feature or unmute yourself to request permission.
- Send a Pre-Meeting Request:
- If you know ahead of time that you need to record, send an email to the host before the Zoom meeting. Explain why you need the recording and how it will be used.
- Use the Participants Panel:
- During the Zoom meeting, click on "Participants" at the bottom of the Zoom window. Find your name, click "More," and select "Ask for Permission to Record." This sends a notification to the host.
Legal and Ethical Considerations for Recording Without Permission
- Legal Issues:
- Using a screen recorder without permission may violate privacy laws depending on your location. Some regions require consent from all parties before recording any conversation.
- Always check the specific laws in your jurisdiction to avoid legal trouble.
- Ethical Considerations:
- Recording without informing others can breach trust and damage professional relationships. It's crucial to respect privacy and transparency.
- If you must use a screen recorder without permission, consider explaining your reasons to the participants afterward to maintain trust.
Key Takeaway: Always strive for transparency and respect when recording a Zoom meeting. Obtaining permission is the best practice to ensure ethical and legal compliance.
How to Record Zoom Meeting Using Different Devices
Recording on Desktop (Windows/Mac)
Step-by-Step Guide for Desktop Users:
- Log in to Zoom:
- Visit the Zoom web portal and log in to your account.
- Start or Join a Zoom Meeting:
- Open Zoom. Click "New Meeting" to start your own or "Join" to enter an existing one.
- Join Audio Conference:
- Click "Join Audio by Computer" to include your microphone in the recording.
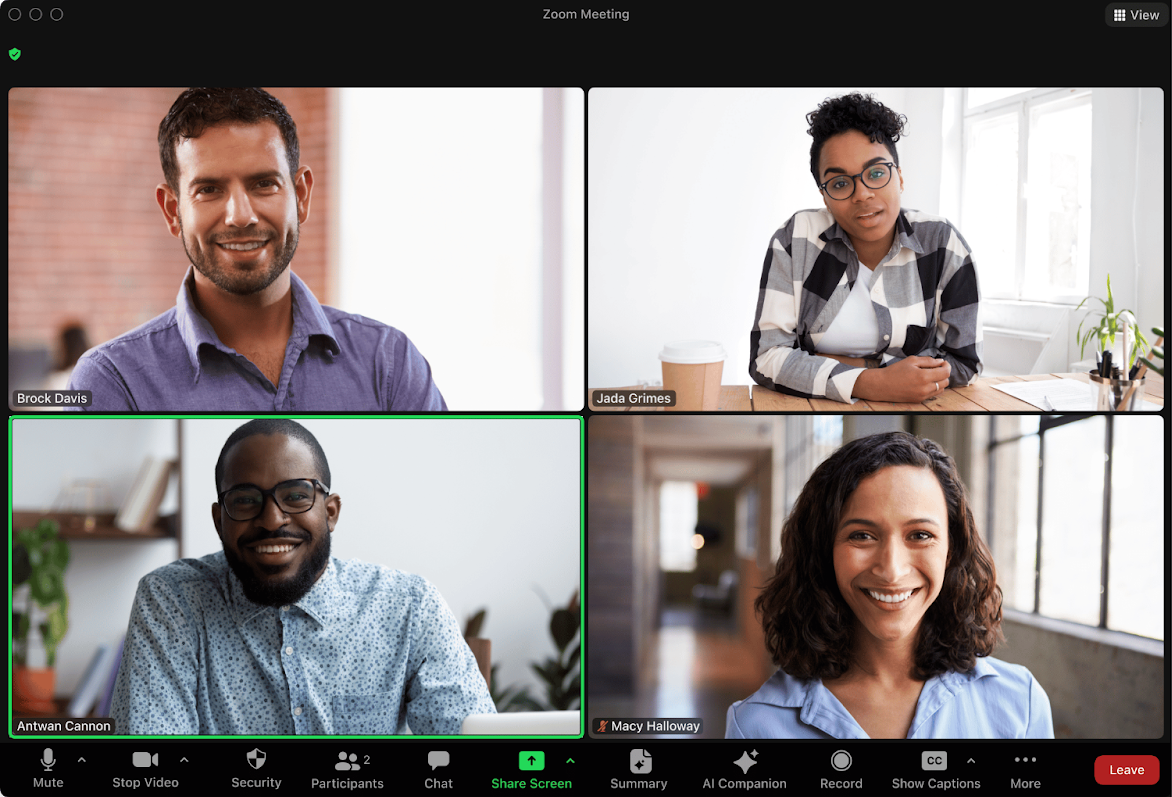
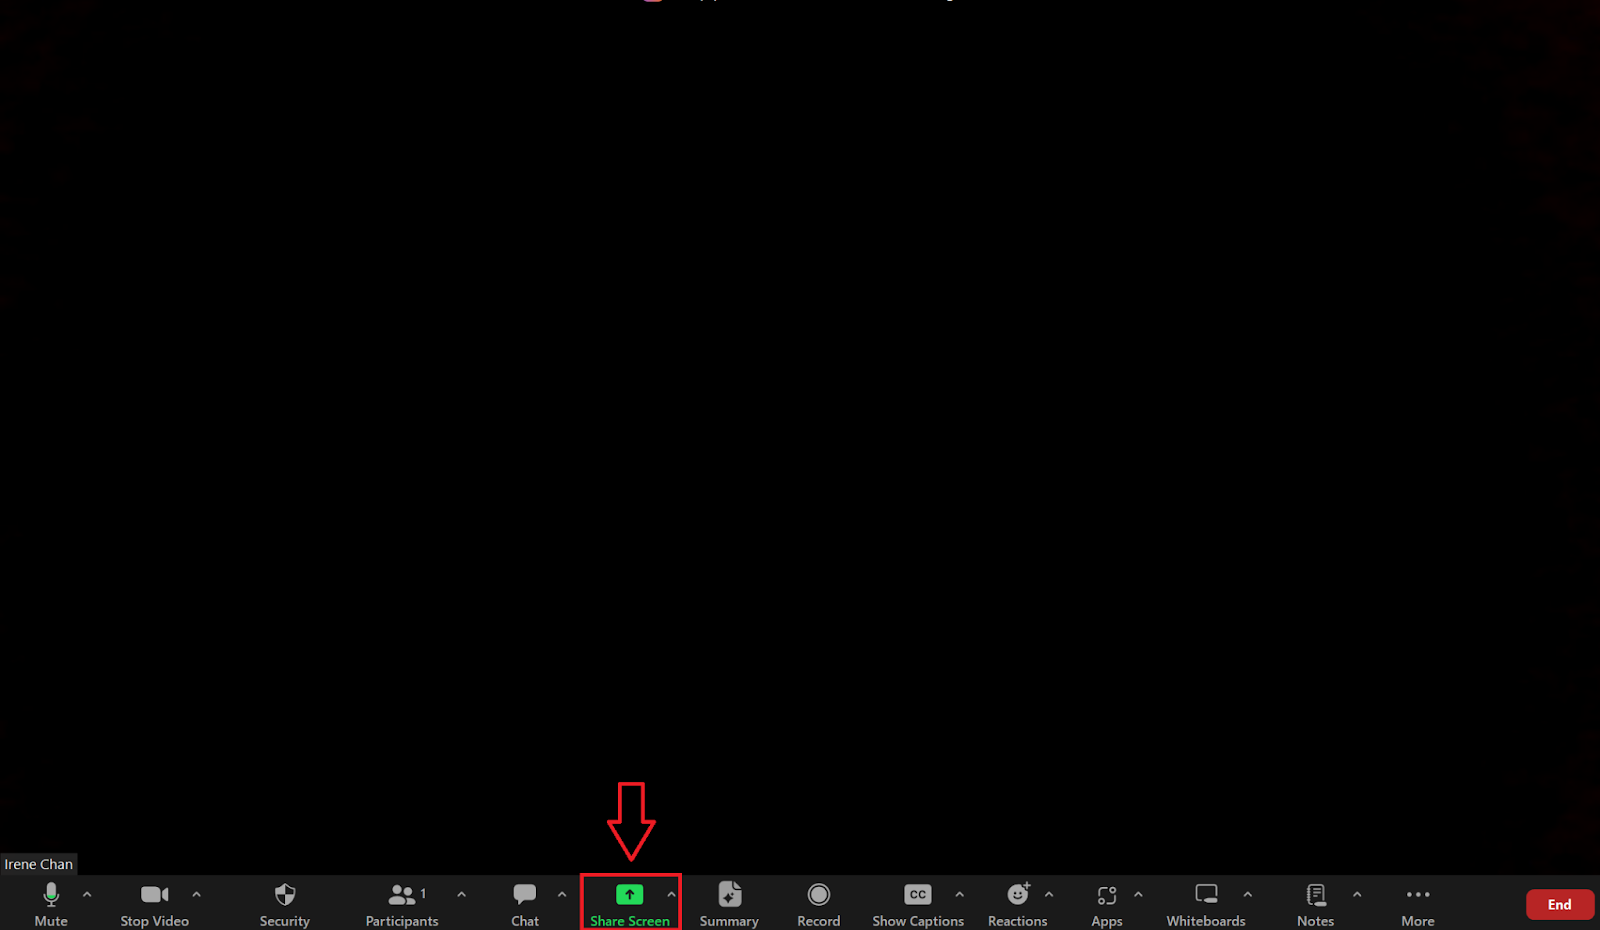
- Share Your Screen:
- Click the "Share Screen" button. Select the entire screen or specific application you want to capture.
- Start Recording:
- Click "More" in the top-right corner of the screen and select "Record on This Computer" or "Record to the Cloud".
- End and Save:
- Click "End Meeting" to stop the recording. Zoom will automatically save the file.
Tips for Optimizing Screen Recording Quality:
- Close Unnecessary Applications: Reduces CPU load and prevents interruptions.
- Check Your Audio Settings: Ensure your microphone and speakers are correctly configured.
- Stable Internet Connection: Prevents lag and ensures smooth recording.
- Adjust Video Quality: Go to settings and select "HD" under the video tab for better clarity.
Recording on Mobile Device (iOS/Android)
How to Start and Stop Zoom Recordings on Mobile Device:
- Install Zoom App:
- Download Zoom from the App Store (iOS) or Google Play (Android).
- Open Zoom:
- Log in and start or join a Zoom meeting.
- Request Recording Permission:
- Only hosts can record Zoom meetings on mobile. If you're not the host, request permission.
- Start Recording:
- Tap "More" (three dots) in the bottom-right corner and select "Record to the Cloud".
- Stop Recording:
- Tap "More" again and select "Stop Recording". The recording is saved to the cloud.
Differences Between Mobile and Desktop Recording Features:
- Cloud Recording Only: Mobile devices save Zoom recordings only to the cloud. It doesn’t do local recordings.
- Limited Editing Options: Post-recording editing tools are more limited on mobile.
- Notification Banners: Mobile displays a banner indicating the recording status.
Recording on Chromebook
Using the Zoom Web App for Chrome OS:
- Open Zoom in Browser:
- Join/start a Zoom meeting using the web app.
- Join Audio:
- Click "Join Audio by Computer" to connect your microphone.
- Share Screen:
- Click "Share Screen" and select the area you wish to capture.
Keyboard Shortcuts for Starting and Stopping Recordings:
- Start Recording: Press Alt + R to begin recording your Zoom call.
- Pause/Resume Recording: Press Alt + P to pause or resume the recording.
- Stop Recording: Press Alt + R again to stop.
Key Takeaway: Different devices offer various features and methods for recording Zoom meetings. Understanding these can help you choose the best option for your needs.
Common Issues and Troubleshooting for Zoom Screen Recording
Why a Zoom Recording Might Not Save or Appear Immediately
Several factors could cause your Zoom recording to not save or show up right away:
- Processing Time: If you choose to record to the Zoom cloud, it needs time to process the recording. This can take a few minutes to several hours, depending on the length of the Zoom meeting and server load.
- Storage Limits: Zoom accounts have storage limits. If you've reached your limit, new recordings won't save until you free up space.
- Local Storage Issues: For local recording, check if your device has enough free storage. Also, verify that your recording location (folder) is correct.
Troubleshooting Common Recording Errors and Issues
If you encounter problems while you record Zoom meetings, consider the following troubleshooting steps:
- Recording Button Disabled:
- Cause: You might not have permission to record if you’re not the host or the host hasn't enabled participant recording.
- Solution: Ask the host to grant you recording permissions by clicking "Participants," selecting your name, and clicking "Allow Record."
- Recording Stops Unexpectedly:
- Cause: This could happen due to internet connectivity issues or system crashes.
- Solution: Ensure a stable internet connection and close unnecessary applications to free up system resources.
- Audio Not Recorded:
- Cause: Incorrect system audio settings or microphone issues.
- Solution: Before starting the Zoom meeting, test your microphone in settings. Ensure you’ve selected the correct input device.
- Video Quality Issues:
- Cause: Poor internet connection or low webcam resolution.
- Solution: Use a high-speed internet connection and check your webcam settings. Opt for "HD" video in Zoom settings if available.
Tips for Ensuring High-Quality Audio and Video Recordings
To produce the best possible Zoom recordings, follow these tips:
- Use a Quality Microphone: Built-in laptop microphones often produce poor audio. Invest in an external microphone for clearer sound.
- Good Lighting: Ensure your face is well-lit. Natural light works best, but you can use desk lamps or ring lights to look better.
- Stable Internet Connection: A wired connection is preferable to Wi-Fi for maintaining a stable internet connection.
- Close Unnecessary Applications: Free up system resources by closing apps that aren’t needed during the recording.
Key Takeaway: Understanding common issues and knowing how to troubleshoot them ensures a smoother recording experience. If unresolved, Zoom support is always available to assist.
{{rt_cta_ai-convenience}}
How Tactiq Enhances Zoom Meetings
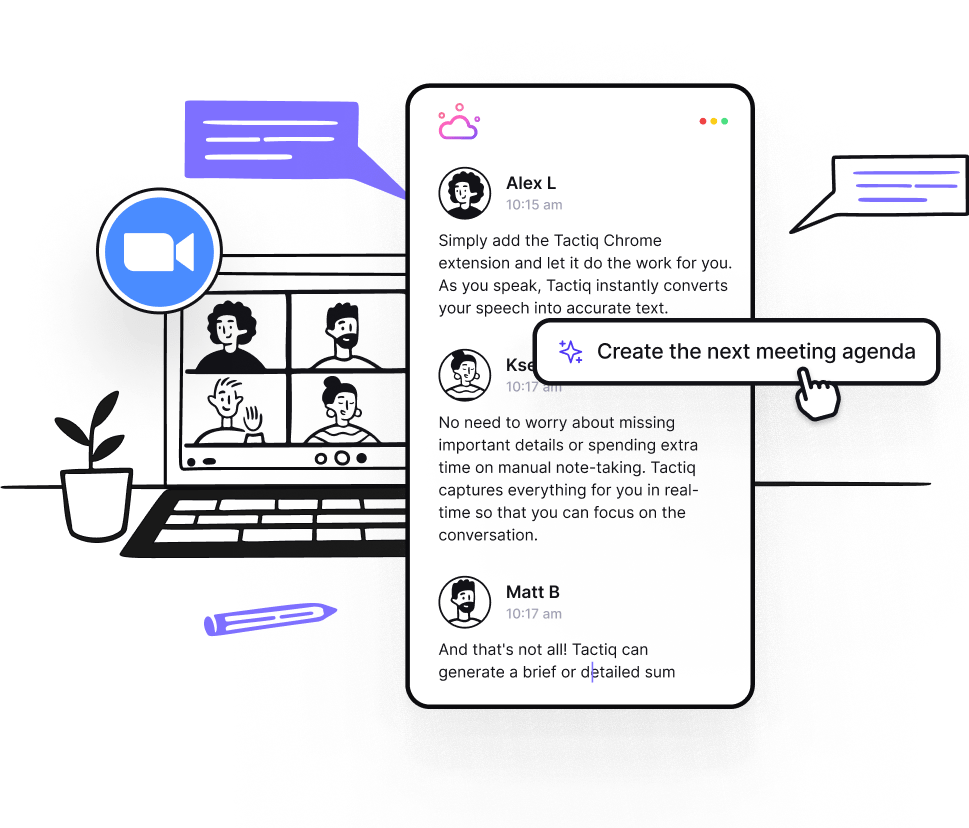
Tactiq is a tool crafted to enhance your Zoom meetings by providing live transcriptions, AI-driven summaries, and flexible prompts. Here’s how it can improve your Zoom experience:
- Accurate Transcriptions and AI Summaries
- Tactiq offers real-time transcriptions of your meetings, accurately converting spoken words into text.
- AI-generated summaries distill the conversation, capturing essential details without the need for manual note-taking.
- Quick Search and Easy Organization
- Tactiq enables you to swiftly search through transcripts using specific keywords, making it simple to locate particular discussions.
- It also helps you neatly organize your meeting records by date, project, or personalized tags, ensuring everything is easy to manage.
- Improved Collaboration
- Share transcriptions and summaries with your team seamlessly, ensuring everyone remains informed, even if they missed the meeting.
- This promotes clarity and fosters better teamwork.
- Streamlined Follow-Up with AI Meeting Kits and Prompts
- Automates follow-up tasks such as drafting emails or creating Jira tickets, saving you time and effort.
Using Tactiq transforms your Zoom meetings into well-organized, thoroughly documented sessions that enhance productivity. Download the Tactiq Chrome Extension for free today to boost your workflow.
You need the host’s permission to record a Zoom meeting. Ask directly during the meeting, send a pre-meeting email request, or use the Participants panel to request recording rights. This ensures you stay compliant and can capture the meeting for your needs.
Tactiq provides live transcriptions and AI-generated summaries, so you don’t have to take manual notes. You can quickly search, organize, and share meeting records, making it easier to stay productive and keep your team aligned.
Zoom recordings may take time to process, especially if saved to the cloud. Check your storage limits and ensure your device has enough space for local recordings. Waiting a few minutes or freeing up storage often resolves the issue, so you don’t lose important meeting content.
Use a quality external microphone, ensure good lighting, and connect to a stable internet source. Close unnecessary applications to free up system resources. These steps help you produce clear, professional recordings that are easy to review and share.
On desktop, you can record locally or to the cloud and have more editing options. Mobile devices only allow cloud recording and have limited editing features, while Chromebooks use browser-based recording with keyboard shortcuts. Knowing these differences helps you choose the best device for your recording needs.
Related articles


_Main.jpg)


Want the convenience of AI summaries?
Try Tactiq for your upcoming meeting.
Want the convenience of AI summaries?
Try Tactiq for your upcoming meeting.
Want the convenience of AI summaries?
Try Tactiq for your upcoming meeting.