How to Share Your Screen on Zoom Meetings
July 31, 2024
July 31, 2024
June 12, 2025
June 12, 2025

In today's digital landscape, virtual meetings have become indispensable for productive team sessions. Screen sharing on Zoom allows you to display your computer screen to other participants. This guide covers everything from basic setup to advanced features to effectively share your screen during presentations, training sessions, and collaborative projects to run the perfect meeting.
What is Screen Sharing on Zoom?
Screen sharing on Zoom lets you show your computer screen to others in a meeting. This feature allows participants to view your desktop, specific applications, or any media you want to display.
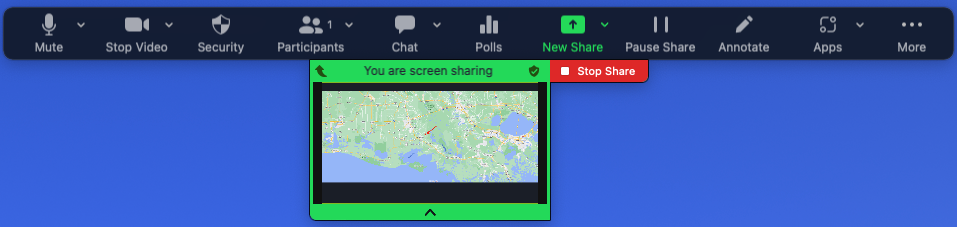
Image from Zoom
Common Use Cases in Meetings and Webinars
Share screen on Zoom is used in various scenarios:
- Presentations: Display slides or documents while explaining concepts.
- Training: Show software or application usage in real-time.
- Collaborative Work: Edit documents together by sharing your screen.
- Webinars: Host interactive sessions where attendees can view your materials.
Benefits of Sharing Your Screen During Virtual Meetings
Sharing your screen offers several advantages:
- Visual Aid: Makes it easier for participants to understand the content.
- Engagement: Keeps attendees focused by providing visual stimulation.
- Efficiency: Speeds up the process of explaining complex ideas.
- Collaboration: Enhances teamwork by allowing real-time edits and feedback.
How to Share Your Screen on Zoom: Step-by-Step Guide
Before you start sharing your screen on Zoom, you need to prepare the following:
- Update Zoom: Make sure you have the latest version of the Zoom desktop client or mobile app. This ensures you have all the newest features and bug fixes. You can check for updates by opening Zoom and navigating to your profile picture, then selecting "Check for Updates."
- Check Your Internet Connection: A stable and fast internet connection is crucial. Test your connection speed and ensure you have enough bandwidth to handle screen sharing without disruptions.
Starting Screen Sharing
Here's how to share your screen on Zoom, whether you're using a desktop or a mobile device:
On Desktop
- Join or Start a Meeting: Open the Zoom desktop client and either join an existing meeting or start a new one.
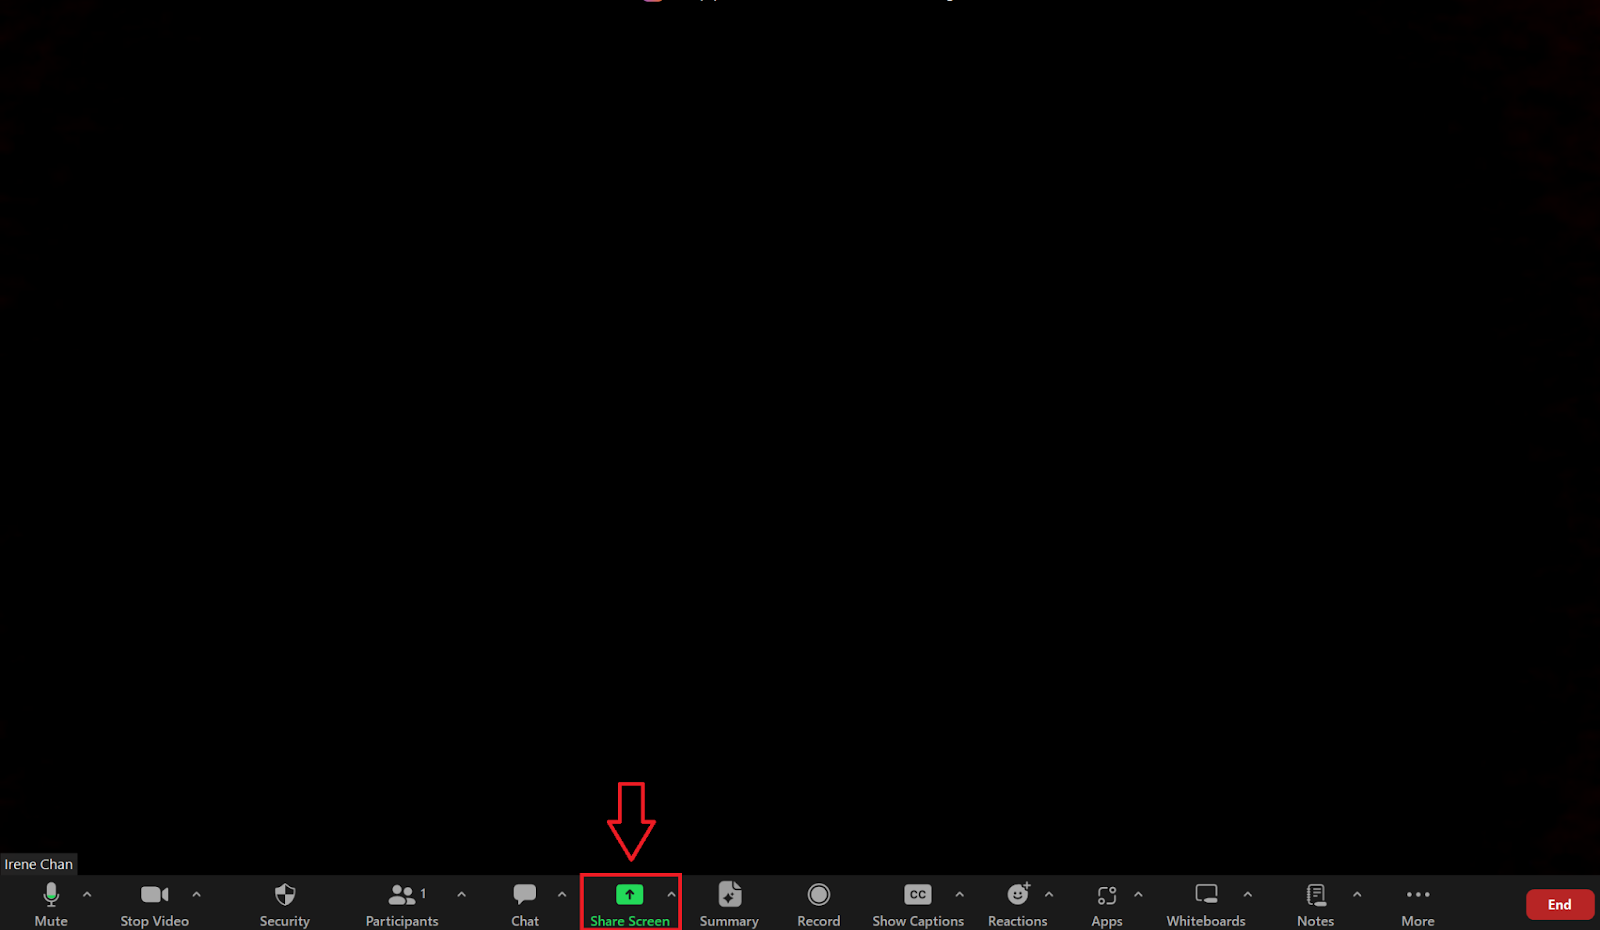
- Click 'Share Screen': Locate the green 'Share Screen' button in the meeting controls at the bottom of the Zoom window.
- Choose What to Share:
- Entire Screen: Select your entire desktop to share your full screen.
- Specific Application: Choose a specific application window to share only that application, keeping other windows private.
- Click 'Share': After selecting what to share, click the 'Share' button in the bottom-right corner.
On Mobile
- Join or Start a Meeting: Open the Zoom app on your mobile device and either join an existing meeting or start a new one.
- Tap 'Share': In the meeting controls at the bottom, tap the 'Share' button.
- Choose What to Share:
- Screen: Share your entire mobile screen.
- Content: Share specific content like photos, documents, or web pages.
- Tap 'Start Now': Confirm your choice by tapping 'Start Now' (Android) or 'Start Broadcast' (iOS)
Using the Advanced Sharing Options
Zoom offers advanced sharing options for more control:
- Share Computer Sound: If you check this option, any sound played by your computer will be shared in the meeting. This is useful for sharing videos or audio clips.
- Optimize for Full Screen Video Clip: Select this when sharing a video to ensure it plays smoothly for participants.
- Portion of Screen: Share only a specific part of your screen by adjusting the green frame that appears. This is great for highlighting specific content without distractions.
How to Optimize Your Screen Sharing Experience
Optimizing your screen sharing experience on Zoom can make your meetings more efficient and engaging. Here are some tips and best practices to help you get the most out of your screen sharing sessions.
Tips for a Smooth Screen Sharing Session
- Close Unnecessary Applications: Before you start screen sharing, close any applications that you won’t need during the meeting. This reduces the chances of distractions and protects your privacy.
- Organize Your Desktop: Keep the desktop clutter-free. Move any sensitive or irrelevant files and icons to a different location.
- Test Your Setup: Do a trial run before the actual meeting. Test your screen sharing to ensure everything works as expected.
- Use a Wired Connection: If possible, connect your device to the internet using an Ethernet cable. This provides a more stable connection compared to Wi-Fi.
Managing Participant Views and Controls
- Gallery vs. Speaker View: Decide whether you want to use Gallery View (seeing all participants) or Speaker View (focusing on the active speaker). You can switch between them as needed.
- Mute Participants: If background noise becomes an issue, you can mute all participants. They can unmute themselves when they need to speak.
- Annotate Tools: Use Zoom’s annotate tools to highlight important points on your shared screen. This keeps participants focused on the key information.
Ensuring Privacy and Security During Screen Sharing
- Share Only What’s Necessary: Use the option to share specific applications instead of your entire screen to maintain privacy.
- Disable Participant Annotation: Prevent participants from annotating on your shared screen unless it’s necessary for the meeting.
- Lock the Meeting: Once all expected participants have joined, lock the meeting to prevent others from entering without permission.
- Use Waiting Rooms: Enable the waiting room feature so you can control who enters the meeting.
Why Choose Tactiq for Your Zoom Meetings
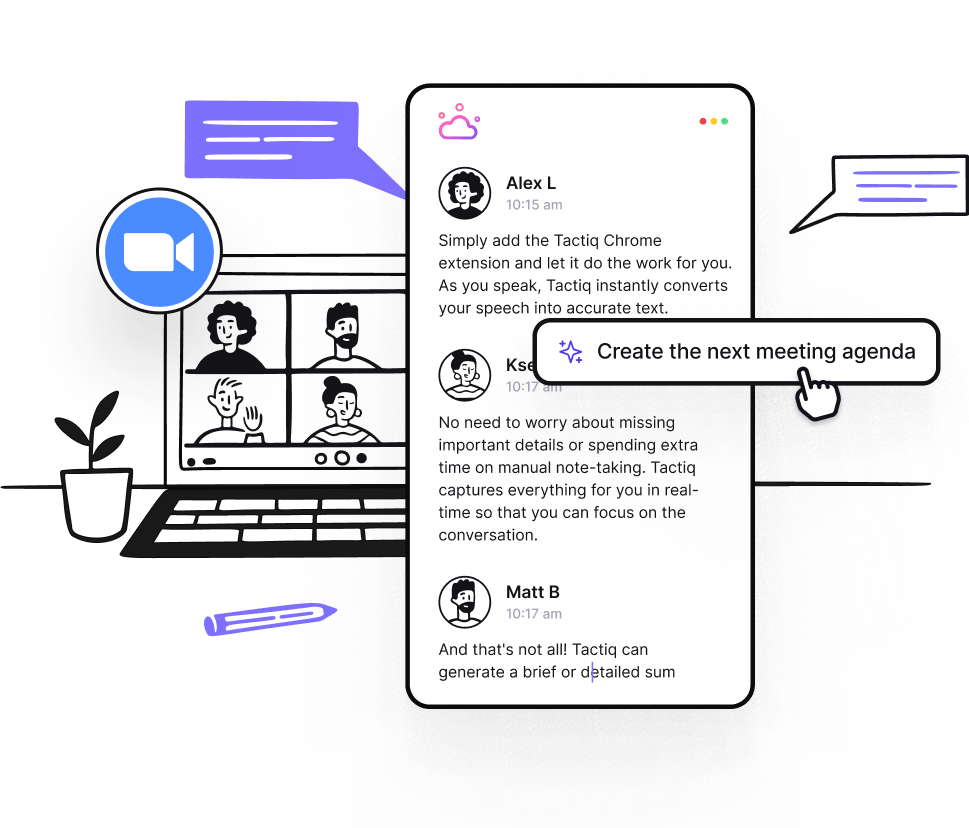
AI tools like Tactiq enhance your Zoom meetings by making them more productive and organized. Here are its key benefits:
- Accurate Transcriptions and Easy Searchability:
- Accurate Transcriptions: High-accuracy transcriptions of every word spoken.
- Easy Searchability: Quickly find specific discussions or points.
- Efficient Meeting Documentation and Follow-Up:
- Comprehensive Documentation: Detailed transcriptions and linked screenshots.
- Follow-Up Efficiency: Organized notes and summaries for easy action item follow-up.
- AI-Driven Tools for Enhanced Productivity:
- AI Summaries: Concise summaries of long meetings.
- Actionable Insights: Identifies key takeaways for easy decision implementation.
- Seamless Integration with Zoom:
- Background Operation: Captures transcriptions and screenshots without interruptions.
- Ease of Use: Minimal setup required, focusing on meeting content.
- Supporting Individual and Team Use Cases:
- Individual Use: Detailed records for personal projects and tasks.
- Team Use: Shared access to transcriptions and notes for better collaboration.
By integrating Tactiq into your Zoom meetings, you streamline documentation, boost productivity, and enhance collaboration, making it an invaluable tool for your virtual meetings.
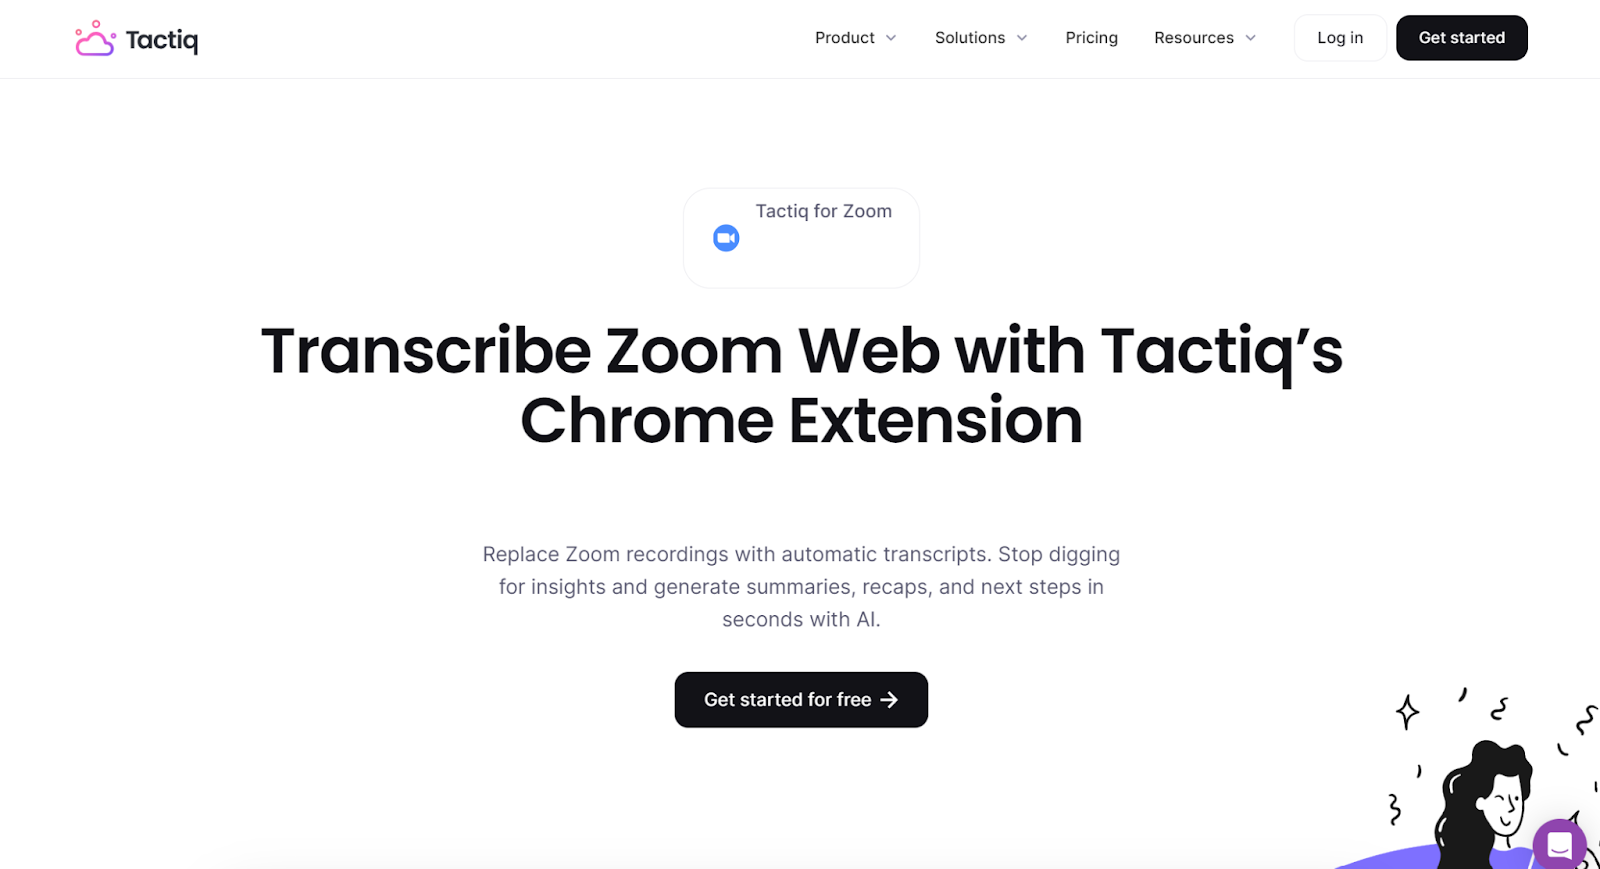
Download the free Tactiq Chrome Extension today.
{{rt_cta_ai-convenience}}
Sharing sound during a Zoom meeting is crucial for presentations that include computer audio, such as videos or music. Here’s how to do it: Start Screen Sharing: Click the "Share Screen" button in the meeting controls. Select Screen or Application: Choose the screen or specific application you want to share. Enable Computer Sound: At the bottom of the share options window, check the box labeled "Share Sound." Pro Tip: Make sure to test the sound before starting your presentation to ensure all participants can hear it clearly.
Sometimes, you may want to share only a specific part of your screen to maintain privacy or focus on a particular section: Initiate Screen Sharing: Click "Share Screen" in the meeting controls. Advanced Sharing Options Window: Select the "Advanced" tab at the top of the sharing window. Choose Portion of Screen: Click "Portion of Screen" and adjust the green frame to highlight the area you want to share. Key Benefit: This feature helps you keep sensitive information private while still sharing relevant content.
Yes, Zoom allows multiple participants to share their screens simultaneously, which is useful for collaborative work: Enable Multiple Sharing: As the host, click the upward arrow next to the "Share Screen" button and select "Multiple participants can share simultaneously." Participants Share Screens: Each participant can now click "Share Screen" and choose what they want to share. Note: Participants with multiple monitors can view all shared screens, while those with a single monitor will see the most recently shared screen.
Annotations can enhance your presentations by allowing you to draw attention to specific points: Start Sharing Your Screen: Click "Share Screen" and select the screen or application. Access Annotation Tools: Click "Annotate" in the meeting controls. Use Tools: Utilize tools like text, draw, spotlight, and eraser to highlight important information. Practical Tip: Use the spotlight tool to guide participants’ attention to specific areas of your screen.
Tactiq’s AI transcription and summaries help you capture every detail of your Zoom meetings, so you never miss important points while sharing your screen. You save time on note-taking and can easily review or share meeting highlights, making your sessions more productive and actionable.
Related articles


_Main.jpg)


Want the convenience of AI summaries?
Try Tactiq for your upcoming meeting.
Want the convenience of AI summaries?
Try Tactiq for your upcoming meeting.
Want the convenience of AI summaries?
Try Tactiq for your upcoming meeting.