Edit YouTube Videos Like a Pro: Step-by-Step Guide
October 11, 2024
October 11, 2024
July 25, 2025
July 25, 2025
Want to make a great YouTube video? Good video editing can be the key to your success on YouTube. In this guide, you'll find a step-by-step approach to editing like a pro and discover the best automation tools and software to help you get started. For YouTubers looking to amp up their content creation, using an efficient AI video generator could significantly streamline the editing process. This tool turns simple ideas or scripts into full-fledged videos without extensive manual editing, fitting perfectly within a professional editing workflow.
Importance of Video Editing for YouTube Success
- Audience Engagement - Good editing keeps viewers watching. You make your video more interesting by cutting out unnecessary parts and adding visual effects.
- Professionalism - Polished videos look more professional. Viewers are more likely to trust and subscribe to channels with high-quality content.
- Storytelling - Editing allows you to tell your story clearly. You can control the pacing, add music, and use transitions to enhance the narrative.
- Retention - Keeping viewers engaged means they are more likely to watch until the end. Higher retention rates improve your video's ranking on YouTube.
Best Video Editing Tools and Software
Factors to Consider
- User-Friendliness - Look for software with an intuitive interface. This makes it easier to learn and use.
- Compatibility - Ensure the software works well with your computer's operating system.
- Features - Check for essential features like cutting, trimming, adding transitions, and audio editing.
- Cost - Some software is free, while others require a subscription. Choose one that fits your budget.
Popular Video Editing Software

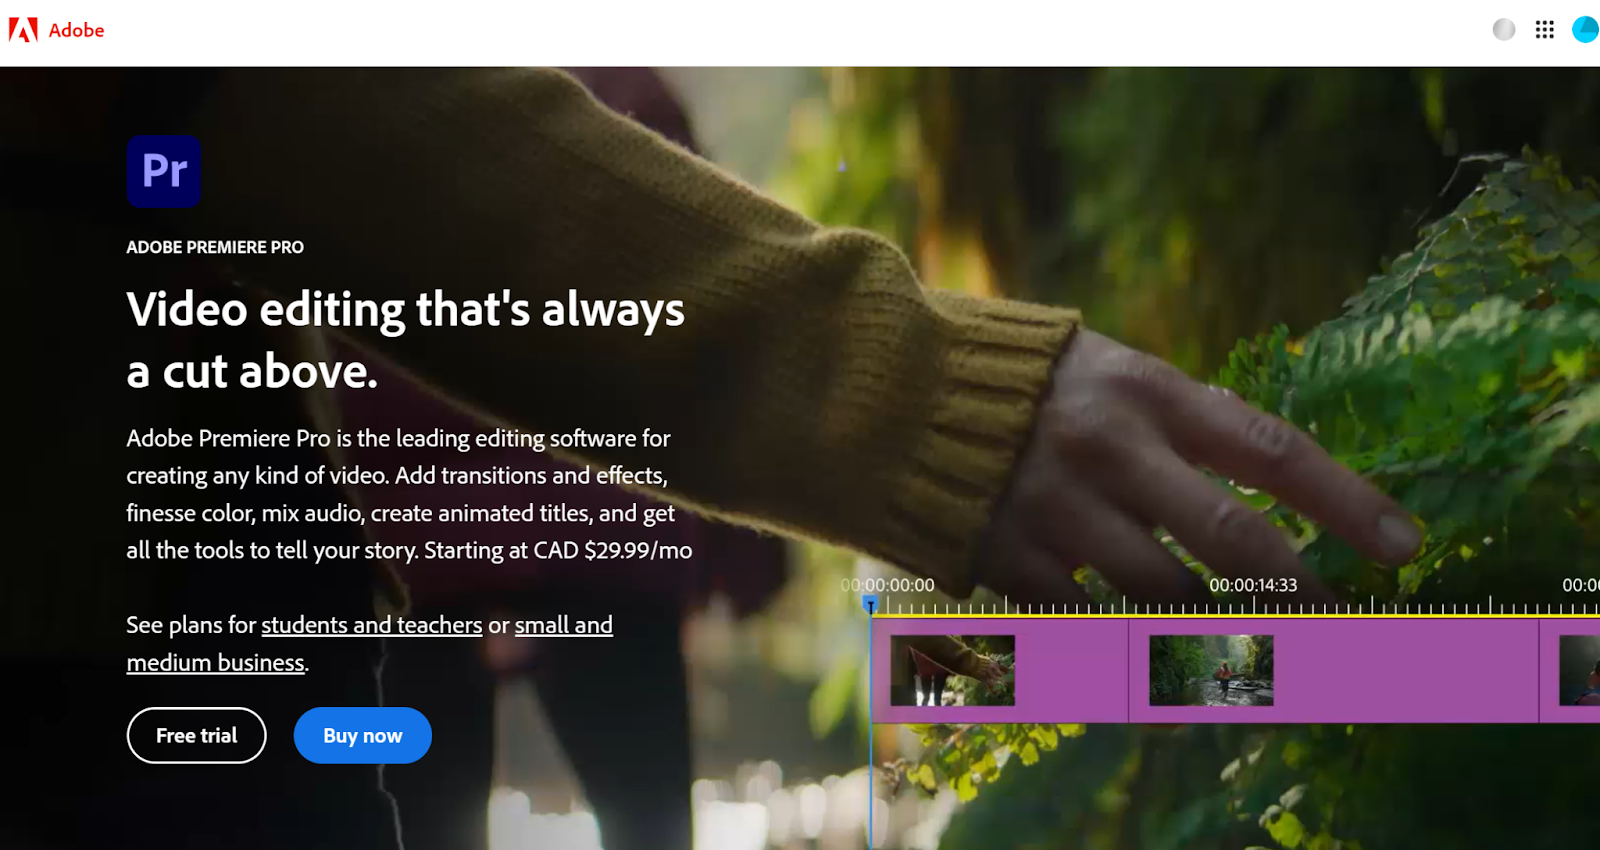
- Adobe Premiere Pro - Known for its robust features, this software is favored by professionals. It offers advanced tools for video and audio editing.
- Final Cut Pro - Ideal for Mac users, Final Cut Pro provides a seamless editing experience with powerful tools.
- DaVinci Resolve - This software is great for color correction and grading. It also includes comprehensive editing features.
How to Choose the Best Video Editing Software
- Evaluate Your Needs - Determine what features you need based on your editing goals.
- Try Free Versions - Many software options offer free trials. Test them to see which one feels right.
- Read Reviews - Look for reviews from other users to understand the pros and cons of each software.
- Check Tutorials - Ensure there are plenty of tutorials available. They can help you learn the software faster.
Creating a Rough Timeline with Your Video Clips
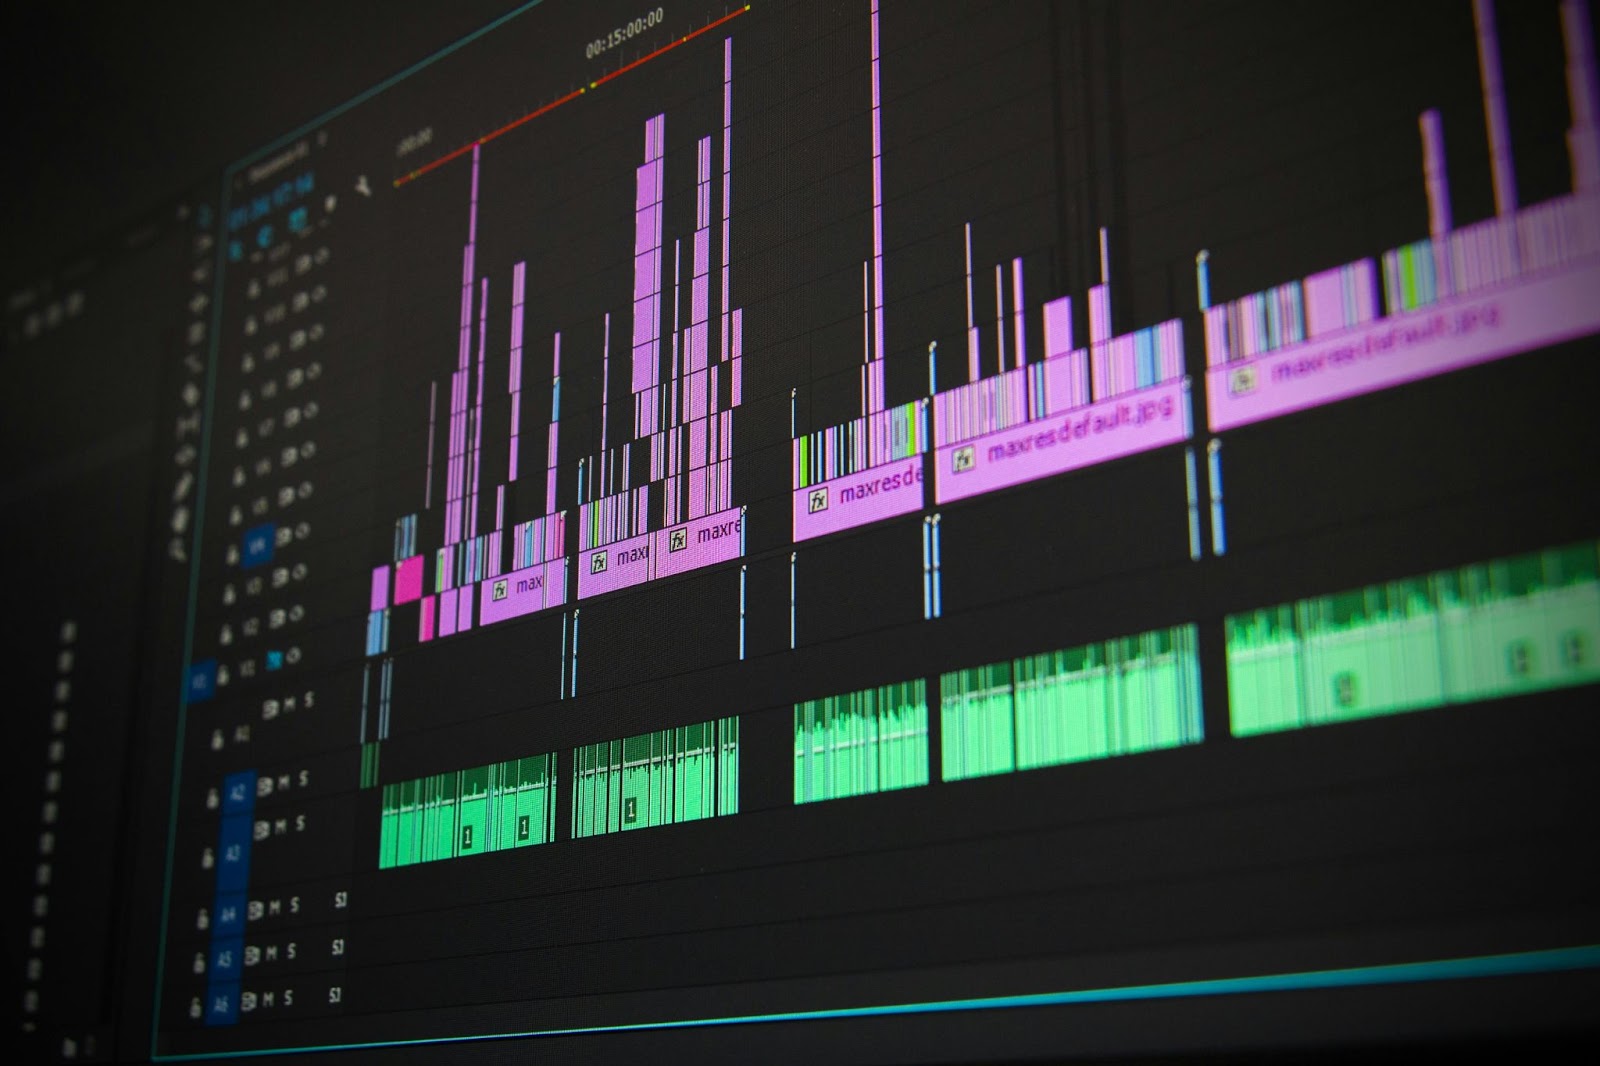
A rough timeline helps you visualize the overall structure of your video.
- Select video clips from your media library and drag them to the timeline.
- Arrange the clips in the order you want them to appear in the final video.
- Trim the beginning and end of each video clip to remove unnecessary parts.
- For segments you haven't shot yet, add placeholders to mark where they will go.
Steps
- Begin with essential clips that define the structure of your video.
- Add supporting footage, such as B-roll, to fill in gaps and enhance the narrative.
- Play through the rough timeline to ensure the sequence makes sense.
Basic Editing Techniques

Cutting and Trimming
Cutting and trimming clips is essential for removing unwanted parts of your footage. Here's how to do it effectively:
- Click on the clip you want to trim in your timeline.
- Move the playhead to the point where you want to make the cut.
- Use the cut tool (often represented by a razor icon) to split the clip at the playhead position.
- Drag the edges of the clip inward to trim off the unwanted parts.
Using the Timeline Effectively
- Zoom in for precise edits; zoom out for a broader view of your video project.
- Enable snapping to align clips perfectly next to each other without gaps.
- Place markers to note important points in your timeline for easy reference.
Adding Transitions
Transitions smooth the change from one clip to another. Here’s how to use and apply them:
Types of Transitions
- Cut - Abruptly switches from one clip to another. Best for fast-paced scenes.
- Fade - Gradually transitions to or from black. Use for scene changes or emotional moments.
- Dissolve - Blends one clip into another. Ideal for conveying the passage of time.
How to Apply Transitions
- Choose the transition type from the effects panel.
- Drag the transition effect to the junction between two clips in the timeline.
- Click on the transition and adjust its duration by dragging its edges.
Working with Audio
Audio is crucial for creating an immersive experience. Follow these steps to adjust audio levels and add background music:
Adjusting Audio Levels
- Click on the audio clip in the timeline.
- Use the volume control to increase or decrease the audio level.
- Add keyframes to adjust the volume at specific points within the clip for smooth audio transitions.
Adding Background Music
- Import your chosen background music file into the media library.
- Drag the music file onto an audio track in the timeline.
- Trim or loop the music to fit the length of your video.
Removing Background Noise
- Highlight the audio clip with background noise.
- Use the noise reduction tool found in the audio effects panel.
- Adjust the settings to balance noise reduction without affecting audio quality.
Enhancing Audio Quality
- Use an equalizer to adjust frequencies and improve clarity.
- Record voiceovers directly within the editing software for clear narration.
- Add sound effects to enhance the viewer's experience. Import sound effects and place them on the timeline where needed.
Adding Effects and Enhancing Your Video
Visual Effects
Applying Filters and Color Correction:
- Filters change the overall look and mood of your video. Choose from presets like black and white, vintage, or cinematic.
- Click on the clip in your timeline.
- Open the effects panel and browse through the available filters.
- Drag the chosen filter onto the clip.
- Fine-tune the filter’s intensity using the settings in the effects control panel.
- Color correction ensures your video has consistent and accurate colors.
- Find the color correction tool in your software.
- Modify brightness, contrast, saturation, and hue to balance the colors.
- Utilize waveform and vectorscope displays to analyze and correct color balance accurately.
Adding Text and Titles:
- Select the text tool from the toolbar.
- Click on the video preview window to create a text box.
- Enter the desired text. This could be titles, subtitles, or annotations.
- Customize font, size, color, and position using the options available in the text settings panel.
Pro tip: For cleaner title overlays, consider using an AI background remover on your video stills before adding text. This creates a professional look where text appears over a transparent or simplified background, making it more readable and visually appealing.
Using Motion Graphics and Animations:
- Motion Graphics are pre-made animations that can add a professional touch.
- Import motion graphics templates from your media library.
- Place them on the timeline where you want the animation to appear.
- Extend or shorten the duration to fit your video.
- Custom Animations:
- Choose the clip you want to animate.
- Add keyframes to mark the start and end points of the animation.
- Adjust properties like position, scale, rotation, and opacity between keyframes to create smooth transitions.
Audio Effects

Adding Sound Effects and Voice Overs
- Sound Effects enhance scenes with relevant sounds.
- Import sound effects into your media library.
- Drag and drop them onto an audio track in the timeline.
- Align sound effects with the corresponding visual action for realistic impact.
- Voiceovers provide narration or additional context.
- Use the recording feature in your editing software to capture voice overs.
- Place the recording on the timeline and sync it with the video.
- Balance the voiceover volume with other audio elements.
Synchronizing Audio with Video
- Ensure the audio clip aligns with the corresponding video action.
- Use waveform displays to match audio peaks with visual actions.
- Use the nudge or trim tools to make precise adjustments.
Enhancing Audio Quality
- Equalization (EQ) - Adjust frequencies to enhance clarity and presence.
- Find the equalizer in your audio effects panel.
- Experiment with different frequency bands to enhance vocals or reduce unwanted sounds.
- Reverb and Echo:
- Add reverb or echo to create a sense of space or depth.
- Fine-tune decay time, pre-delay, and mix levels to achieve the desired effect.
Adding Timestamps and Subtitles
Timestamps
Timestamps improve navigation and help viewers jump to specific sections. To add them:
- Identify important parts of your video, such as introductions, key topics, or transitions.
- In your video description, list the timestamps (e.g., 0:00 - Introduction) with a brief label for each section.
- YouTube will automatically create clickable links for each timestamp, enhancing the viewer experience.
Subtitles
Subtitles improve accessibility and boost SEO by making content searchable. Here’s how to add them:
- You can manually input subtitles in YouTube Studio or upload a subtitle file (.srt).
- YouTube offers auto-generated subtitles. Review and edit for accuracy.
- For multilingual audiences, upload translations to reach a wider audience.
Exporting and Uploading Your Video
Choosing the Right Export Settings for YouTube
- Resolution and Frame Rate - YouTube supports various resolutions, but for the best quality, export your video at 1080p (1920x1080) or 4K (3840x2160). The standard frame rates (24, 30, or 60 fps) work well.
- 1080p: Ideal for most content, balances quality and file size.
- 4K: Best for high-definition content, requires more storage and bandwidth.
- Bitrate - this affects the video quality and file size.
- Standard Bitrate: Use 8 Mbps for 1080p and 35-45 Mbps for 4K.
- High Bitrate: For better quality, use 10 Mbps for 1080p and 53-68 Mbps for 4K.
- Format - export in MP4 format using the H.264 codec for the best compatibility and quality on YouTube.
How to Export Your Video in High Quality
- Open your editing software's export settings.
- Select MP4 format.
- Choose 1080p or 4K resolution.
- Set the bitrate according to your preferred quality.
- Ensure the audio is exported in AAC format with a bitrate of at least 320 kbps for clear sound.
- Verify that all settings are correct and add your video to the export queue.
- Export Video: Start the export process. This might take some time depending on the video's length and your computer's processing power.
Uploading Your Video to YouTube and Setting Up Metadata
- Log in to your YouTube account.
- Click the upload button (camera icon with a plus sign) at the top right corner.
- Choose the video file you exported.
- Wait for the video to upload and process.
Setting Up Metadata
- Create a compelling and keyword-rich title. Keep it concise. Aim for 60 characters or less. Use relevant keywords related to your content.
- Write a detailed description that includes keywords and additional information. Make the first two lines engaging; they appear above the "Show More" button. Include links, credits, and additional details in the rest of the description.
- Add relevant tags to help YouTube understand the content of your video. Include your main keywords and use related terms and variations.
- Choose or upload a custom thumbnail that grabs attention. Use high-resolution images and overlay text and graphics to make it stand out.
- Set your video's visibility to Public, Private, or Unlisted based on when you want it to go live.
Final Steps
- Organize your video into a relevant playlist if applicable.
- Indicate if your video is made for kids or not.
- Adjust additional settings like language, captions, and comments.
- Publish immediately or schedule for a later date and time.
{{rt_cta_ai-convenience}}
Transform Your Video Planning with Tactiq Transcriptions

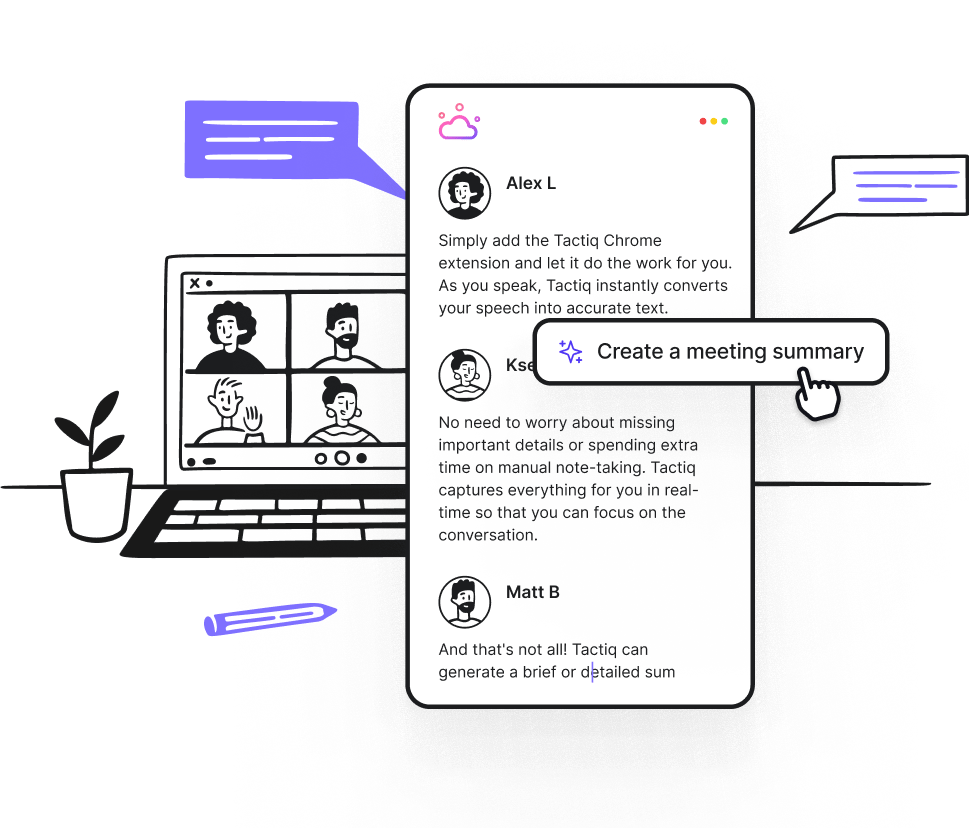
Tactiq turns your brainstorming and planning sessions into accessible, actionable insights. This is especially valuable for content creators who need to capture precise details and ideas discussed in virtual meetings.
- Tactiq transcribes your meetings on platforms like Zoom, Google Meet, and Microsoft Teams in real time to help you focus on ideas rather than note-taking.
- Easily turn transcripts into video outlines or scripts. Use AI-powered prompts to identify key themes or insights and organize them.
- Tactiq’s custom prompts can also rephrase transcript sections for repurposing meeting notes as video introductions, summaries, or engaging on-screen text.
With Tactiq, you can capture and organize the key moments from your creative sessions, making your video planning smoother and more organized. Download the free Tactiq Chrome Extension today!
Log into YouTube and go to YouTube Studio. Click on "Settings" in the bottom left corner. Select "Channel" and then "Basic info." Edit Keywords: Keyword List: Add or edit your channel keywords. Relevant Terms: Use terms that represent your content. Separate Keywords: Separate each keyword with a comma. Click "Save" to update your keywords.
YouTube keywords are specific words or phrases that describe your video content: Purpose: Help YouTube understand and categorize your video. Importance: Essential for video discovery and search ranking. Types: Primary Keywords: Main topics of your video. Secondary Keywords: Related subtopics or additional details.
Optimize YouTube video SEO by creating eye-catching thumbnails, engaging content, and using calls-to-action. Interact with your audience, create playlists, maintain a regular upload schedule, and monitor analytics. Adjust strategies based on trends to boost visibility and retain viewers.
Start by organizing your clips on a timeline, trimming unnecessary parts, and adding transitions for smooth flow. Enhance your video with audio adjustments, background music, and visual effects to keep viewers engaged and make your content stand out.
Tactiq transcribes your brainstorming and planning sessions, turning conversations into actionable insights. You quickly create video outlines or scripts from transcripts, saving time and ensuring you capture every important idea for your content.
Want the convenience of AI summaries?
Try Tactiq for your upcoming meeting.
Want the convenience of AI summaries?
Try Tactiq for your upcoming meeting.
Want the convenience of AI summaries?
Try Tactiq for your upcoming meeting.


