Share Your Screen on Microsoft Teams Easily
September 17, 2024
September 17, 2024
June 12, 2025
June 12, 2025

Sharing your screen on Microsoft Teams can enhance your meetings by making them more interactive and engaging. Whether you need to show your entire desktop or a specific application, Teams has you covered. This guide will help you learn how to share your screen. For more insights into Microsoft Teams, check out these related articles: How to Use AI Note-Taking with MS Teams Meetings, Top Microsoft Teams Alternatives, and Microsoft Teams vs Google Meet: A Detailed Comparison.
How to Share Screen on Microsoft Teams
Accessing the screen sharing feature in meeting controls
- Join or Start a Microsoft Teams Meeting: Open the Microsoft Teams app and join your meeting.
- Select the Share Content Button: In the meeting controls, look for the screen sharing icon.
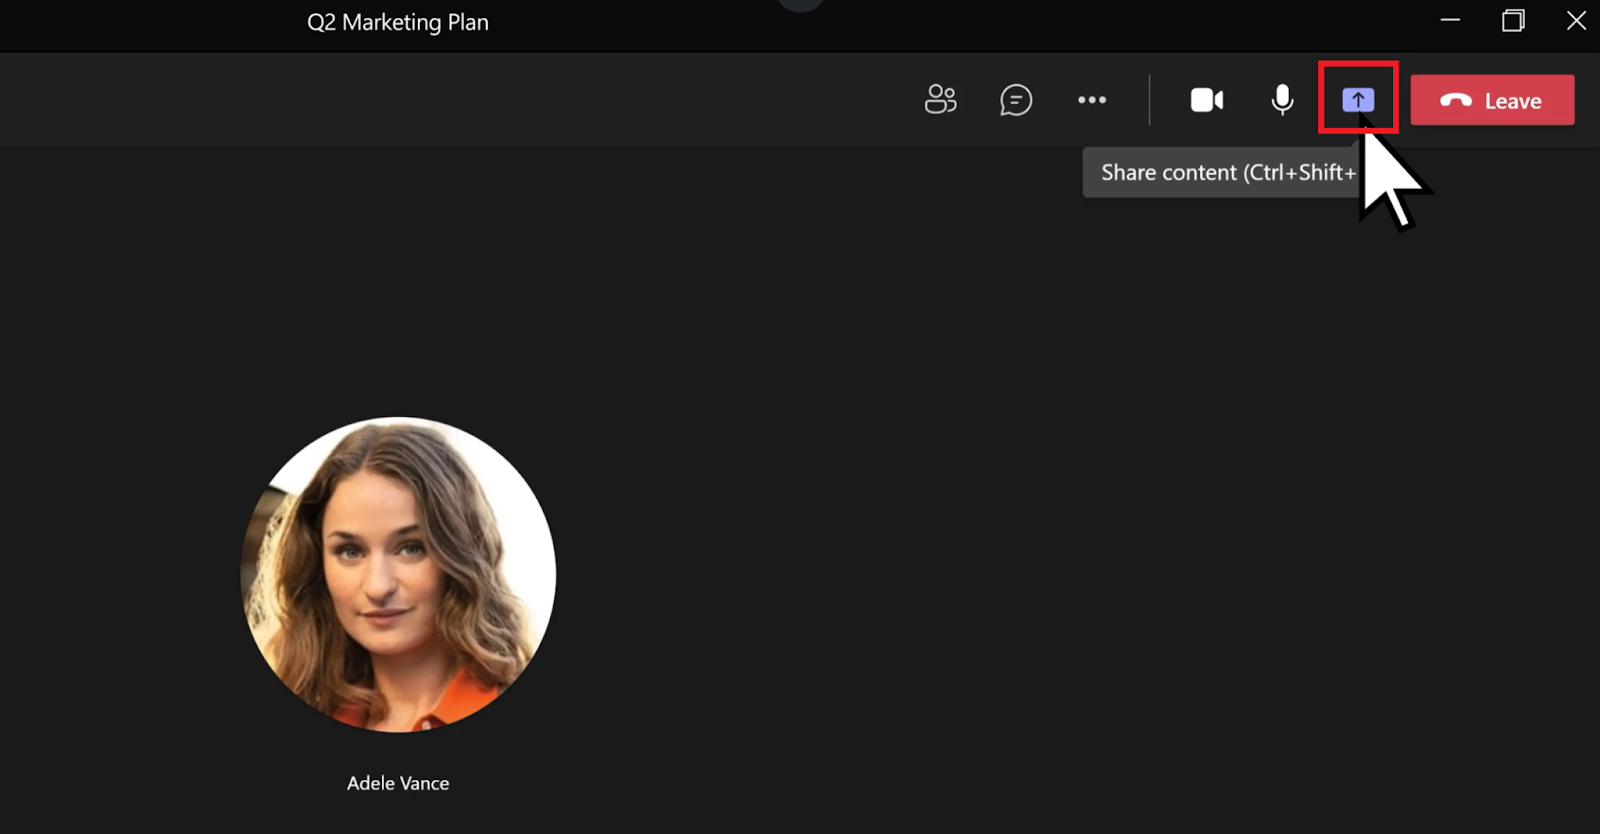
Image from Microsoft
- Choose What to Share: A menu will appear, giving you various options on what you can share.
Options available: screen, window, PowerPoint Live, Microsoft Whiteboard
When you click on the "Share" button, you’ll see several options:
- Screen: This option shares your entire screen. Anything you see on your screen will be visible to other meeting participants.
- Window: Select this to share a specific application window. Useful for showing only one program without exposing your entire desktop.
- PowerPoint Live: Ideal for showing a PowerPoint presentation. It allows you to share your PowerPoint slides directly, giving you control over the presentation flow.
- Microsoft Whiteboard: Share a collaborative whiteboard where participants can draw, write, and brainstorm together in real-time.
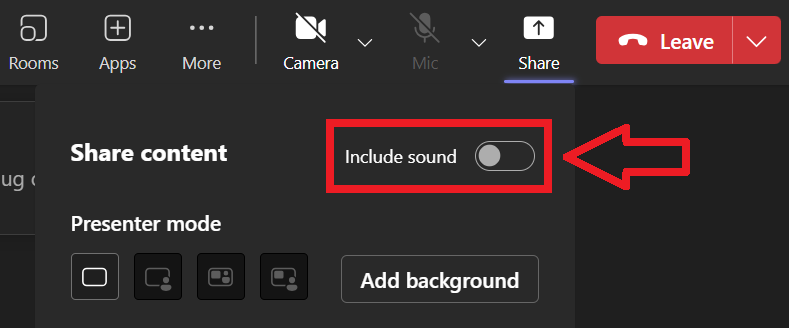
Turning on the Include sound toggle to share audio
- Locate the Include Sound Toggle: Before selecting what to share, you'll see a toggle labeled "Include computer sound."
- Turn on the Toggle: Switch it on to make sure any audio playing on your computer is heard by meeting participants. This is crucial for presentations with embedded audio or video clips.
Stopping screen sharing effectively
- Stop Sharing Button: Once you're done sharing, look for the "Stop sharing" button, which is usually in the meeting controls or a small toolbar at the top of your screen.
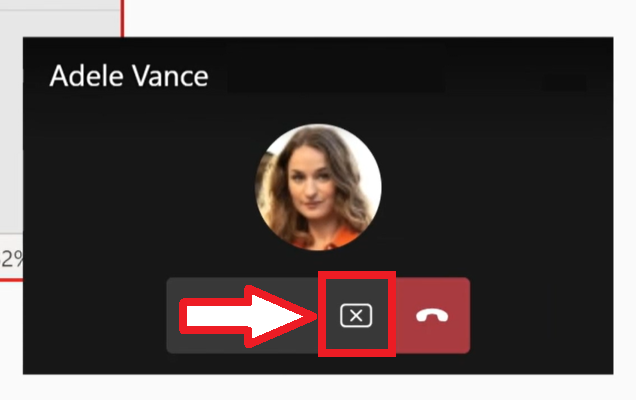
- Click to Stop: Simply click it, and your screen will no longer be shared with the meeting participants.
By following these steps, you can share your screen on Microsoft Teams, making your meetings more productive and engaging.
Tips for Effective Screen Sharing
Making the most out of your screen sharing sessions on Microsoft Teams requires a bit of preparation and strategy. Here are some practical tips to ensure your screen sharing is as effective as possible.
Preparing your screen and closing unnecessary tabs/apps
- Clean Up Your Desktop: Before you start sharing, make sure your desktop is tidy. Close any applications that you won't be using during the meeting to avoid distractions and potential privacy issues.
- Organize Your Tabs: If you’ll be sharing your browser, close any unnecessary tabs. Only keep open the ones you need for your presentation or discussion.
- Notifications: Turn off notifications to prevent pop-ups from appearing during your screen share. This helps maintain a professional appearance and keeps the focus on your content.
Using PowerPoint Live for interactive presentations
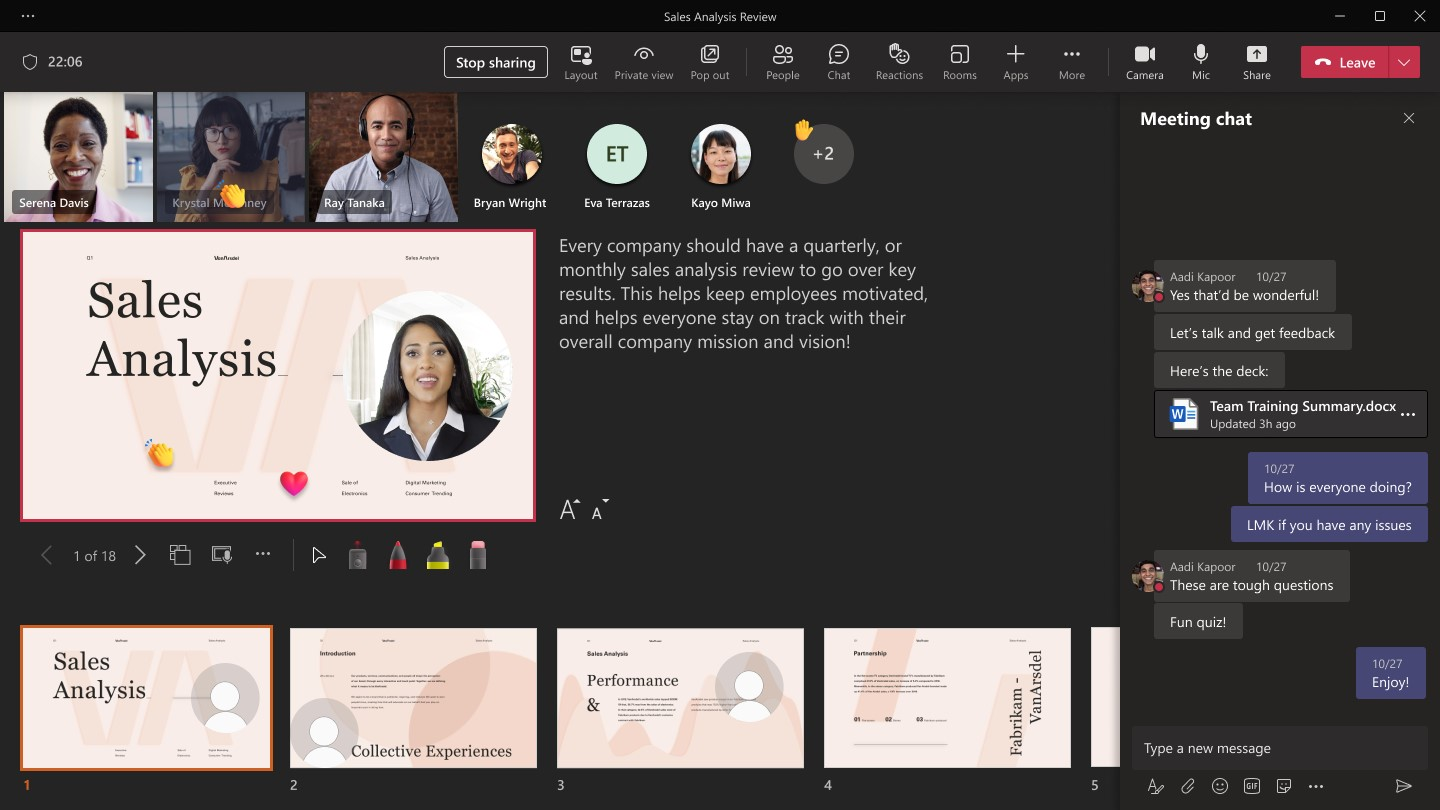
Image from Microsoft
- Engage Your Audience: PowerPoint Live in Teams allows you to share slides directly, making your presentations more interactive. Participants can navigate through the slides at their own pace if you enable this feature.
- Annotations and Notes: Use the annotation tools to highlight key points on your slides. You can also share your notes with other participants, providing additional context without verbal explanation.
- Real-Time Feedback: Encourage participants to use the chat or raise hand feature to ask questions or provide feedback in real-time, making the session more interactive and engaging.
Utilizing Microsoft Whiteboard for brainstorming sessions
- Interactive Collaboration: Microsoft Whiteboard is perfect for brainstorming. It allows all participants to draw, write, and add sticky notes on a shared digital canvas, fostering collaboration.
- Versatile Tools: Use the various tools available, such as pens, shapes, and text, to create a clear and organized brainstorming session. This helps in visualizing ideas and solutions effectively.
- Save and Share: After the session, save the whiteboard as an image or PDF to share it with the team. This ensures everyone has a copy of the discussed ideas and plans.
Ensuring a stable internet connection
- Check Your Connection: Before the meeting, ensure your internet connection is stable. A wired connection is preferable over Wi-Fi for a more reliable experience.
- Bandwidth Management: Close any applications or browser tabs that might be using up your bandwidth. Streaming services, large downloads, or unnecessary cloud syncs should be paused or stopped.
- Backup Plan: Have a backup plan in case your internet fails. This could include a mobile hotspot or a secondary internet source. Inform your participants of the backup plan to manage expectations.
By following these tips, you can ensure your screen sharing sessions on Microsoft Teams are smooth, engaging, and effective.
Troubleshooting Common Screen Sharing Issues
Screen sharing on Microsoft Teams can sometimes run into problems. Here’s how to address some common issues.
Resolving audio sharing problems
- Include Computer Sound: If participants can't hear your audio, ensure you’ve toggled the "Include sound" option on. This setting is available when you click on the Share Content button.
- Check Audio Settings: Sometimes the issue is with your computer’s audio settings. Make sure your audio output is set correctly. On Windows, you can check this in the sound settings panel.
- Update Drivers: Outdated audio drivers can cause issues. Ensure your sound drivers are updated. Do this through the Device Manager (Windows) or System Preferences (Mac).
Fixing screen freezing or lagging
- Close Unnecessary Applications: High CPU or memory usage can cause your screen to freeze or lag. Close any applications that are not needed during the meeting.
- Check Internet Speed: A slow internet connection can cause lagging. Use a speed test online to check your connection. Target at least 5 Mbps upload speed for a smooth experience.
- Lower Resolution: If the issue persists, consider lowering your screen resolution. This reduces the amount of data being shared, which can help improve performance.
Managing permissions and access settings
- Granting Permissions: If you’re unable to share your screen, you might need to grant Teams permission to record your screen. On Windows, this can be done through the Privacy settings. On Mac, you’ll find this under Security & Privacy.
- Admin Settings: Sometimes, the issue might be with your organization’s admin settings. Check with your IT department to ensure that screen sharing is allowed for your account.
- Sharing Control: During a meeting, you can give control of your screen to another participant or request control of theirs. This can be managed through the Sharing toolbar at the top of the screen.
Tips for Linux users and limitations they may encounter
- Limited Features: Linux users might encounter limitations, such as the absence of a red border indicating what’s being shared or the inability to share specific windows. Knowing these limitations helps in planning your screen sharing sessions.
- Use X11 Sessions: For better compatibility, use X11 sessions instead of Wayland. This can resolve some screen sharing issues on Linux.
- External Tools: Consider using third-party tools like OBS Studio as a workaround for more advanced screen sharing needs. These tools can sometimes offer more flexibility than the built-in options.
By addressing these common issues, you can ensure a smoother and more professional screen sharing experience on Microsoft Teams.
{{rt_cta_ai-convenience}}
How Tactiq Enhances Your Microsoft Teams Experience
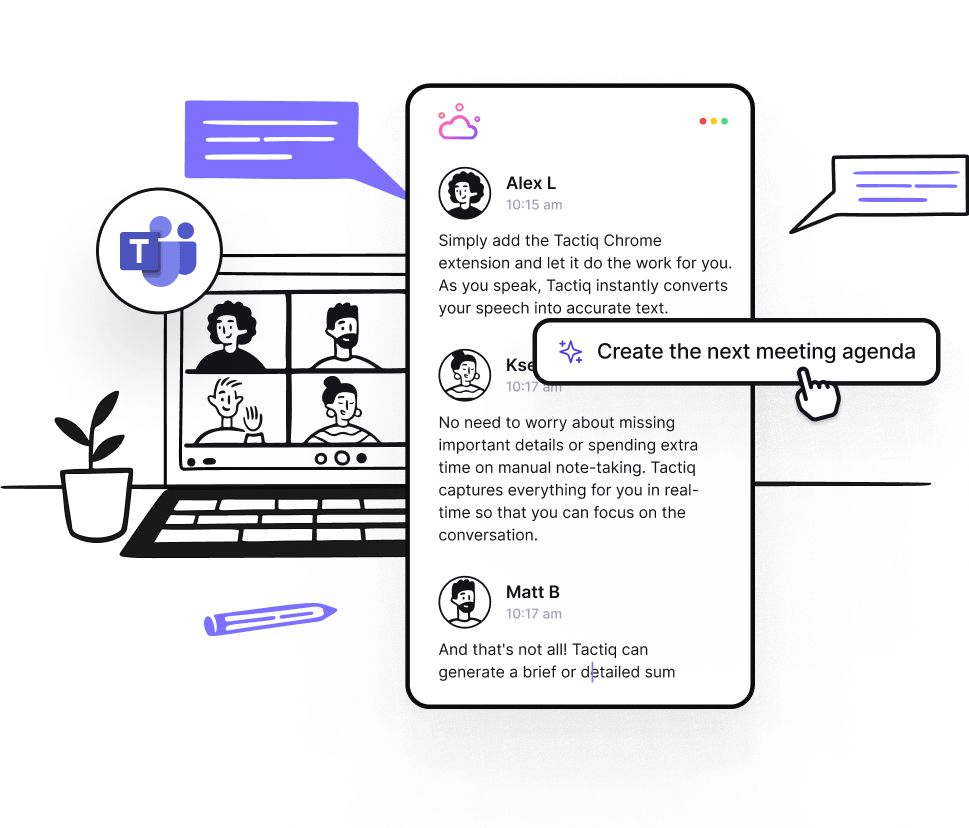
Tactiq is a powerful tool that enhances Microsoft Teams by providing live transcriptions, AI-powered summaries, and new features like AI meeting kits and custom prompts. Here's how Tactiq can improve your experience:
- Real-Time Transcription: Tactiq captures everything said during screen sharing, allowing you to focus on your presentation without worrying about notes.
- AI-Generated Summaries & Follow-Ups: Tactiq creates AI-generated summaries and follow-up tasks, saving time and ensuring you miss nothing post-meeting.
- AI Meeting Kits & Custom AI Prompts: Automate repetitive tasks like writing follow-ups or creating action items directly from your screen-sharing sessions with custom prompts.
By integrating Tactiq with Microsoft Teams, you make screen sharing more productive and organized. Download the free Tactiq Chrome Extension today!
To share your screen, join or start a Teams meeting, click the Share Content button in the meeting controls, and choose what you want to share—your entire screen, a specific window, PowerPoint Live, or Microsoft Whiteboard. This makes your meetings more interactive and helps you present information clearly.
Prepare by cleaning up your desktop, closing unnecessary tabs and apps, and turning off notifications to avoid distractions or privacy issues. These steps help you maintain a professional appearance and keep your audience focused on your content.
If participants can't hear your audio, make sure the 'Include computer sound' toggle is on and check your audio settings and drivers. For screen lag, close unused applications, check your internet speed, and lower your screen resolution if needed. Addressing these issues ensures a smoother, more reliable screen sharing experience.
PowerPoint Live lets you share slides interactively, use annotation tools, and allow participants to navigate slides at their own pace. Microsoft Whiteboard enables real-time collaboration, letting everyone draw, write, and brainstorm together. These tools make your presentations more engaging and foster better teamwork.
Tactiq provides live transcriptions and AI-powered summaries during your Teams meetings, so you can focus on presenting without worrying about taking notes. You also save time with automated follow-ups and action items, making your meetings more productive and organized.
Related articles


Want the convenience of AI summaries?
Try Tactiq for your upcoming meeting.
Want the convenience of AI summaries?
Try Tactiq for your upcoming meeting.
Want the convenience of AI summaries?
Try Tactiq for your upcoming meeting.