How to Delete a Google Calendar Step-by-Step
February 20, 2025
February 20, 2025
June 6, 2025
June 6, 2025

Have you ever wondered how to delete a Google Calendar you no longer need? Managing your calendar efficiently is important to keep your schedule organized and stress-free. Google Calendar is a powerful tool, but sometimes you might need to delete a calendar to declutter your view. This guide will walk you through the steps to delete a Google Calendar, whether you want to hide it temporarily or permanently delete it.
Continue reading to learn various methods for hiding, removing, unsubscribing, and permanently deleting a Google Calendar.
Benefits of Hiding a Calendar Instead of Deleting
Easily Accessible
- Quickly Reversible: Hiding a calendar is a quick action that can be easily undone. Deleting a calendar, however, is permanent and can't be reversed.
Prevent Data Loss
- Preserve Information: When you hide a calendar, all events remain intact. Deleting a calendar removes all events permanently, which can lead to data loss.
Minimal Disruption
- Maintain Continuity: Hiding the calendar ensures that any shared events or information remain available to other users. Deleting it would remove these events from everyone’s view.
Organizational Flexibility
- Declutter Without Consequence: If you temporarily don’t need to see certain events, hiding the calendar helps you declutter your view without any long-term consequences. Deleting it would mean losing access to potentially important information.
Hiding a calendar provides a flexible, non-permanent solution for managing your Google Calendar without losing data or disrupting shared events. This makes it an ideal choice for temporary adjustments and ensuring crucial information remains accessible.
Removing a Calendar from Your List Temporarily
Steps to Remove a Calendar
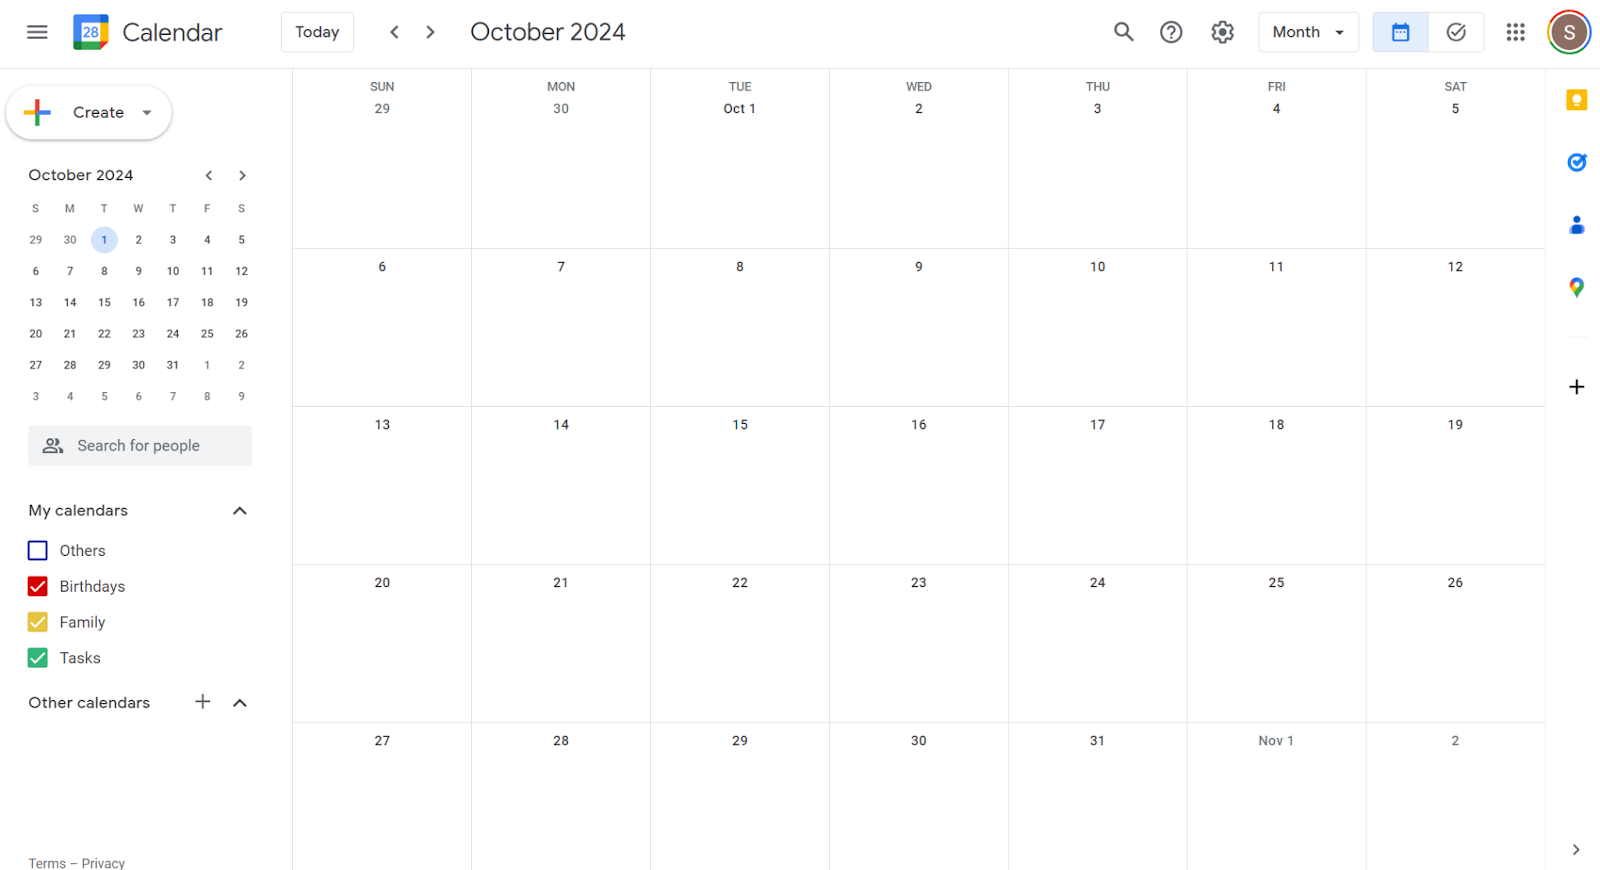
Step 1: Open Google Calendar on Your Computer
- Start by opening Google Calendar in your web browser. Go to Google Calendar and log in using your Google account credentials.
Step 2: Find the Calendar You Want to Remove
- On the left side of the screen, you'll see a list of your Google Calendars under 'My calendars' or 'Other calendars'. Scroll through the calendar list to find the calendar you want to remove temporarily.
Step 3: Hover Over the Calendar Name
- Once you've identified the calendar, move your cursor over its name. This will reveal additional options for that calendar.
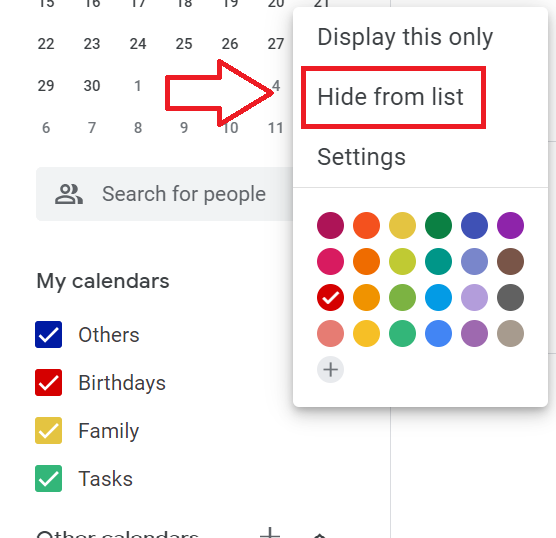
Step 4: Click 'More'
- A small icon with three vertical dots will appear beside the calendar name. Click on this icon to open a menu with more options.
Step 5: Select 'Hide from List'
- In the menu that appears, click on 'Hide from list'. This action will temporarily remove the calendar from your visible list, making it disappear from your immediate view.
By following these steps, you can manage your Google Calendar more effectively, keeping your interface clean while retaining all important data and shared access.
Unsubscribing from a Calendar Permanently
Step 1: Open Google Calendar on Your Computer
- Begin by navigating to Google Calendar on your desktop browser. Ensure you are logged into your Google account to access your calendars.
Step 2: Click on 'Settings' in the Top Right
- In the upper-right corner of the calendar interface, you will find a gear icon representing 'Settings'. Click on this icon to open the settings menu.
Step 3: Select the Calendar You Want to Remove from the Left Column
- Within the settings menu, you'll see a list of all your calendars displayed in the left-hand column. Scroll through this list to find the specific calendar you wish to unsubscribe from.
Step 4: Click 'Remove Calendar' and Then 'Unsubscribe'
- Click on the name of the calendar you want to remove. This will open a detailed settings page for that particular calendar.
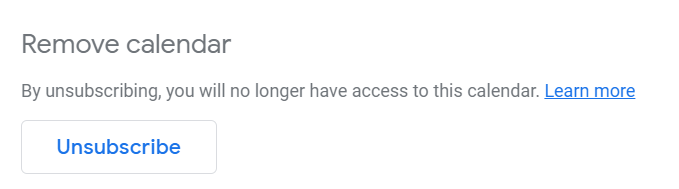
- Scroll down to the 'Remove calendar' section.
- Click on 'Unsubscribe'. A confirmation prompt will appear to ensure you want to proceed. Confirm your choice to complete the process.
Why Unsubscribe Instead of Delete?
Personal Calendars:
- Permanent Removal: Unsubscribing means you will no longer see the calendar or any of its events. This action is irreversible unless the calendar owner re-shares it.
Shared Calendars:
- Owner Retains Access: While you lose access to the calendar, the owner and other shared users can continue to use it without interruption.
Clean Calendar View:
- Reduce Clutter: Unsubscribing from calendars you no longer need helps keep your calendar interface organized and focused on current, relevant events.
Data Preservation:
- Keep Events Intact: Unlike deletion, which removes events permanently, unsubscribing preserves the calendar data for other users who still have access.
By following these steps, you can clean up your Google Calendar, ensuring it remains useful and easy to navigate. This process is especially helpful for managing multiple shared calendars or removing outdated ones.
Deleting a Calendar Permanently
Step 1: Open Google Calendar on Your Computer
- Navigate to Google Calendar through your desktop browser. Make sure you are logged into the correct Google account where the calendar you want to delete resides.
Step 2: Click 'Settings' in the Top Right
- Locate the gear icon at the top right of the Google Calendar interface. This is your gateway to the settings menu. Click on it to proceed.
Step 3: Find the Calendar You Want to Delete in the Left Column
- Within the settings menu, a list of all your calendars appears in the left column. Scroll through this list to locate the specific calendar you wish to delete permanently.
Step 4: Click the Calendar Name, Then 'Remove Calendar' and 'Delete Permanently'
- Select the name of the calendar you intend to delete. This action will bring up detailed settings for that specific calendar.
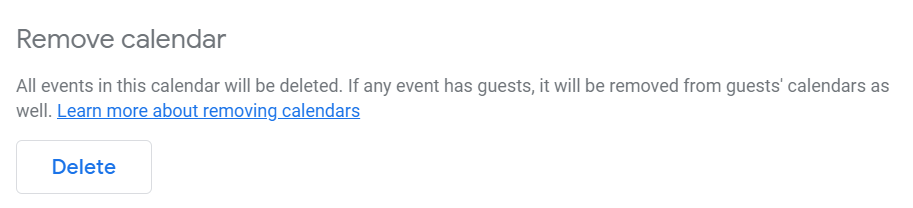
- Scroll down to the 'Remove calendar' section. Here, you will find the option to 'Delete.
- Click on 'Delete. A confirmation prompt will appear, asking if you are sure about this irreversible step. Confirm to finalize the deletion.
Important Considerations
Permanent Consequences:
- No Undo: Once you delete a calendar, all events and reminders associated with it are lost forever. This action cannot be undone, so make sure you really want to delete it before proceeding.
Impacts on Shared Calendars:
- Affects All Users: If the calendar is shared with other users, they will also lose access to it and all its events. Inform them beforehand to avoid any confusion or data loss.
Primary Calendar Restrictions:
- Non-Removable: Google does not allow the deletion of your primary calendar. You can clear all events, but the calendar itself remains. For clearing events, refer to the relevant settings under your primary calendar.
Use Cases:
- Old Projects: Deleting calendars related to completed projects can help declutter your Google Calendar interface.
- Irrelevant Calendars: Calendars that are no longer useful or relevant should be removed to maintain a clean and organized calendar view.
By following these steps, you can effectively remove any unnecessary calendars from your Google Calendar, ensuring a streamlined and efficient scheduling tool. This process is crucial for maintaining an organized digital workspace.
Restoring a Calendar You Unsubscribed From
Restoring a Google Calendar you unsubscribed from depends on several factors. Here’s what you need to know:
1. If the Calendar is Owned by Someone Else:
- Request Re-sharing: Ask the calendar owner to share it with you again. This is the simplest way to regain access. Once the owner shares it, you will receive an email invitation to re-add the calendar.
2. If the Calendar Was Owned by You and Not Shared:
- No Restoration Possible: Unfortunately, if you owned the calendar and did not share it with anyone else before unsubscribing, you cannot restore it. This makes it crucial to carefully consider before unsubscribing from calendars you own and need.
3. Steps to Restore a Shared Calendar Using the Calendar Address:
- Step 1: Obtain the Calendar Address: If the calendar was shared with others, ask one of the other users to provide you with the Calendar Address. They can find this by:
- Opening Google Calendar.
- Clicking on the gear icon for settings at the top right.
- Selecting the shared calendar from the left column under 'Settings for my calendars'.
- Scrolling down to the 'Integrate calendar' section.
- Copying the 'Secret address in iCal format' or 'Public address in iCal format'.
- Step 2: Add the Calendar Back to Your Account:
- Open Google Calendar.
- Click the gear icon and select 'Settings'.
- In the left column, click 'Add calendar'.
- Choose 'From URL'.
- Paste the Calendar Address link into the provided field.
- Click 'Add calendar'. The calendar should now reappear in your list of calendars.
By following these guidelines, you can effectively restore access to shared calendars without losing critical scheduling information.
{{rt_cta_ai-convenience}}
How Tactiq Can Help Improve Your Virtual Meeting Experience
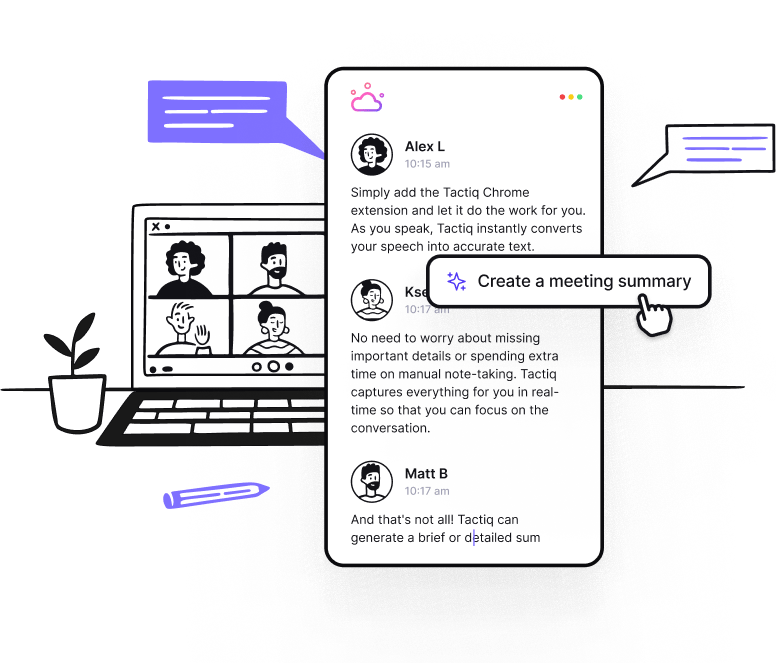
Tactiq is an AI-powered tool that transforms your meeting experience by automating transcription, summaries, and follow-up tasks. It integrates with Google Meet, Microsoft Teams, and Zoom to capture every detail.
- Real-Time Transcriptions: Tactiq provides live transcriptions during meetings, allowing you to track discussions in real time and refer back to key points later.
- AI Summaries & Post-Meeting Follow-Up: After meetings, Tactiq generates concise AI-powered summaries and drafts follow-up emails or project updates, saving you time and effort.
- AI Meeting Kits & Custom Prompts: Tactiq’s new features allow you to use AI meeting kits and custom prompts to automate tasks like creating Jira tickets or drafting detailed emails.
- Smart Search & Data Organization: Quickly retrieve specific meeting details with Tactiq’s smart search feature, and keep all your meeting data organized for easy access.
By using Tactiq, you can streamline your meeting management and optimize your workflow. Download the free Tactiq Chrome Extension today!


便利なAIサマリーが欲しいですか?
次回のミーティングで Tactiq をお試しください。
便利なAIサマリーが欲しいですか?
次回のミーティングで Tactiq をお試しください。
便利なAIサマリーが欲しいですか?
次回のミーティングで Tactiq をお試しください。