Step-by-Step Guide to Setting Up a Zoom Meeting
August 7, 2024
August 7, 2024
June 12, 2025
June 12, 2025

Zoom is one of the most widely used video conferencing platforms, so knowing how to set up a meeting is important.
This step-by-step guide will walk you through everything, from creating your account and scheduling meetings to creating Zoom meeting links and downloading Zoom recordings.
How to Set Up a Zoom Account
Before you can schedule or join meetings, you'll need to create a Zoom account. Here's how to get started:
- Visit zoom.us and click Sign Up Free in the top-right corner.
- Enter your work or personal email address.
- Check your inbox for a confirmation email from Zoom.
- Click the activation link in the email to continue setup.
- Create a secure password, then click Continue to finish your registration.
Choosing a Zoom Plan
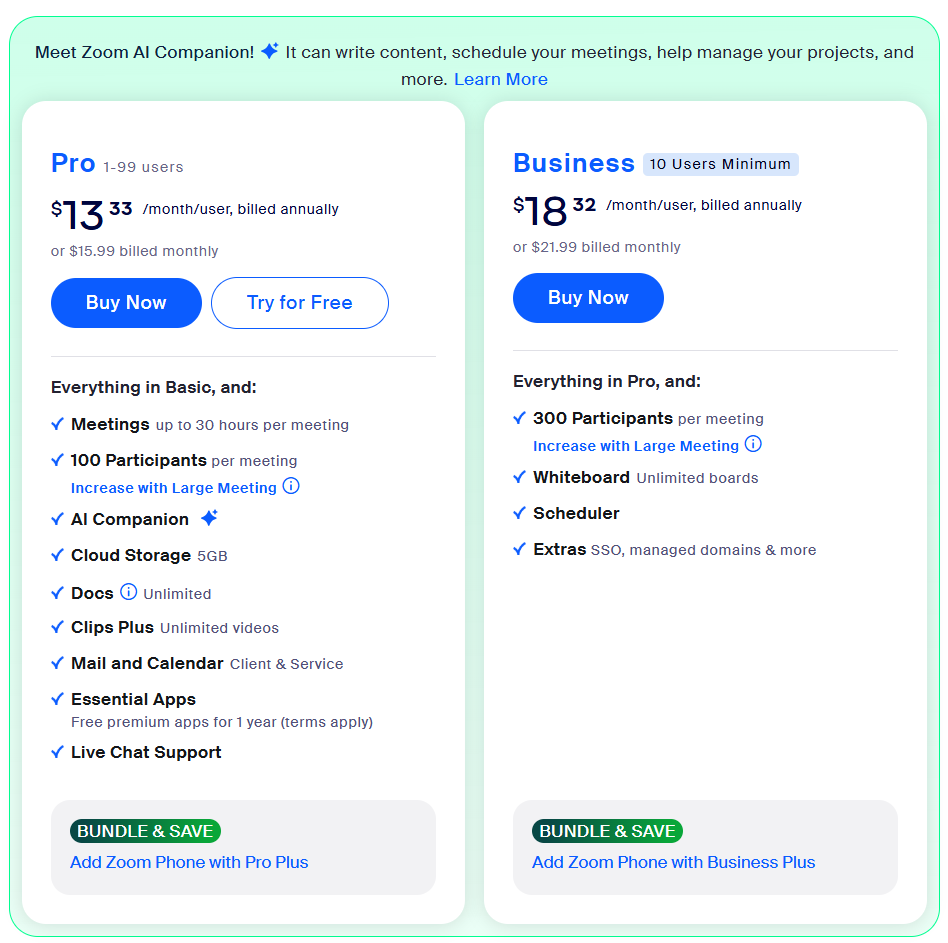
Basic — Free
Meet up to 100 participants with a 40-minute limit on group meetings. Includes limited chat, whiteboard, mail, and calendar features.
Pro — $15.99/month/user
Remove time limits, host up to 100 participants, get 5 GB cloud storage, and access AI tools and premium apps.
Business — $21.99/month/user (10 user minimum)
Host up to 300 participants, unlock branding, SSO, managed domains, and unlimited whiteboards.
Business Plus — $25/month/user (annual only)
Includes all Business features plus Zoom Phone with unlimited US/Canada calling and additional admin tools.
Enterprise — Custom pricing
For 50+ users. Host up to 1,000 participants, get unlimited cloud storage, a success manager, and advanced controls.
Setting Up Your Profile
Once your account is created, personalize your Zoom profile:
- Upload a professional profile picture.
- Set your display name, which participants will see in meetings.
- Adjust your time zone to ensure meetings are scheduled correctly.
- Choose your preferred language for the Zoom interface.
How to Schedule a Zoom Meeting on Desktop
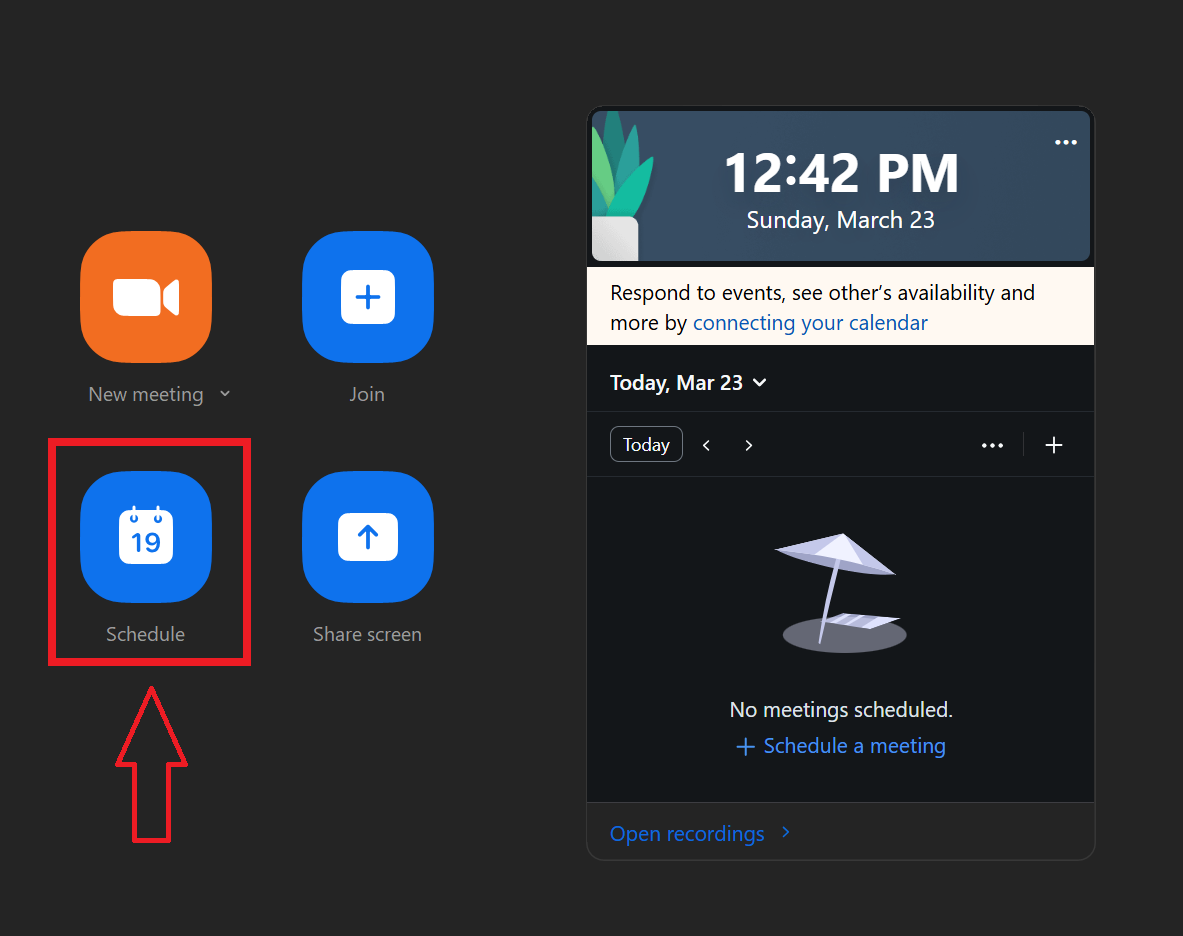
Here’s how to schedule a Zoom meeting directly from the Zoom desktop app using its built-in scheduler tool.
- Open the Zoom desktop client and sign in to your account.
- Click Schedule to open the scheduling window.
- Enter a title for your meeting in the Topic field.
- Set the meeting’s date, start time, duration, and time zone. You can also mark it as recurring or schedule it as an all-day event.
- (Optional) Add invitees by typing their names or email addresses. This requires calendar and contacts integration with Zoom.
- Select the calendar service you want to use to send invites—Outlook, Google Calendar, iCal, or Other.
- Choose the event type: Zoom Meeting, Zoom Phone Call, or Offline.
- Add a location, meeting room, description, and any relevant attachments.
- Set your calendar visibility and choose how you want to appear to others (Busy or Free).
- Adjust attendee permissions—control who can modify the event, invite others, or view the guest list.
- Under security settings, set a meeting passcode, enable the waiting room, and choose who can join (e.g., signed-in users only).
- Select your encryption preference: standard or end-to-end encryption.
- Choose whether to use a randomly generated Meeting ID or your Personal Meeting ID.
- Configure video and audio settings for both host and participants.
- (Optional) Enable features like language interpretation, focus mode, automatic recording, or watermarking.
- (Optional) Assign alternative hosts or schedule the meeting on someone else’s behalf if you have scheduling privileges.
- Click Save to confirm your settings. Your selected calendar service will open so you can send out the event invitation.
How to Schedule a Zoom Meeting in Outlook
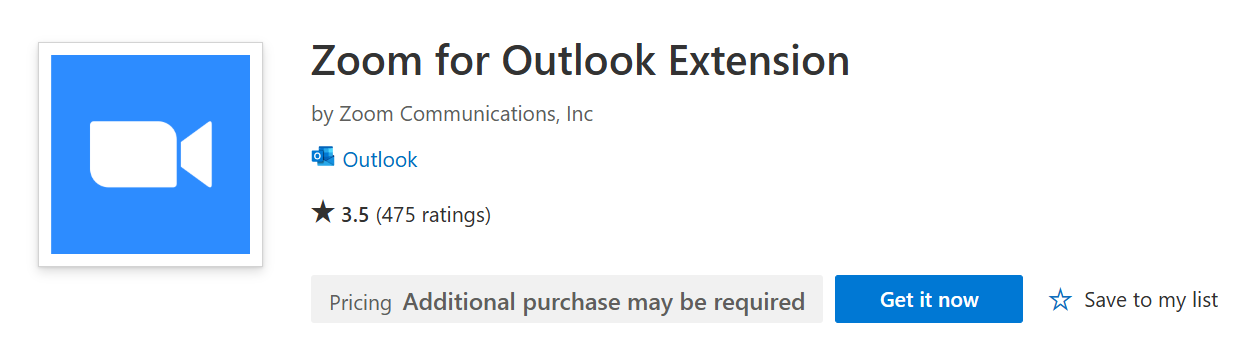
You can schedule a Zoom meeting directly from your Outlook web calendar using the Zoom add-in.
- Installing the Zoom for Outlook add-in.
- Open your Outlook web calendar and click New Event to create a new calendar event.
- Enter meeting details like the date and time, title, location, and guest list.
- Click Zoom, then select Add a Zoom Meeting.
- Make sure the date and time are set before adding the Zoom Meeting. If added too early, the meeting may be scheduled with a default time and expire before your intended start.
- Sign in to your Zoom account. If you’re already signed in on the Zoom web portal, it will connect automatically.
- The Zoom meeting will populate with your default settings from the Zoom web portal.
- (Optional) If you change the date or time after adding the Zoom meeting, click Update in the Zoom panel to sync changes.
- (Optional) To add a whiteboard, click Add Attachment and choose one from your Zoom Whiteboard dashboard.
- Finish filling out the event and click Save.
How to Schedule a Zoom Meeting on Mobile (Android or iOS)
.png)
You can schedule Zoom meetings on your phone using the Zoom mobile app. The process is similar on both Android and iOS.
- Open the Zoom mobile app and sign in.
- Tap the Meetings tab, then tap Schedule.
- Enter a meeting topic to name your session.
- Set the start date, time, duration, and time zone. You can also make it a recurring meeting if needed.
- (Optional) Tap Calendar to choose where to add the event—Google, Outlook, or another connected calendar.
- Choose whether to use your Personal Meeting ID (PMI) or generate a unique meeting ID.
- Configure security options, such as requiring a passcode, enabling a waiting room, and allowing only authenticated users.
- Select an encryption type—standard or end-to-end.
- Set video and audio preferences for the host and participants.
- Choose your audio connection (device audio, telephone, or both), and select dial-in countries if needed.
- (Optional) Enable features like join before host, auto-recording, focus mode, watermark, or language interpretation.
- (Optional) Assign alternative hosts or schedule the meeting for someone else if you have privileges.
- Once all settings are in place, tap Done to save and schedule the meeting.
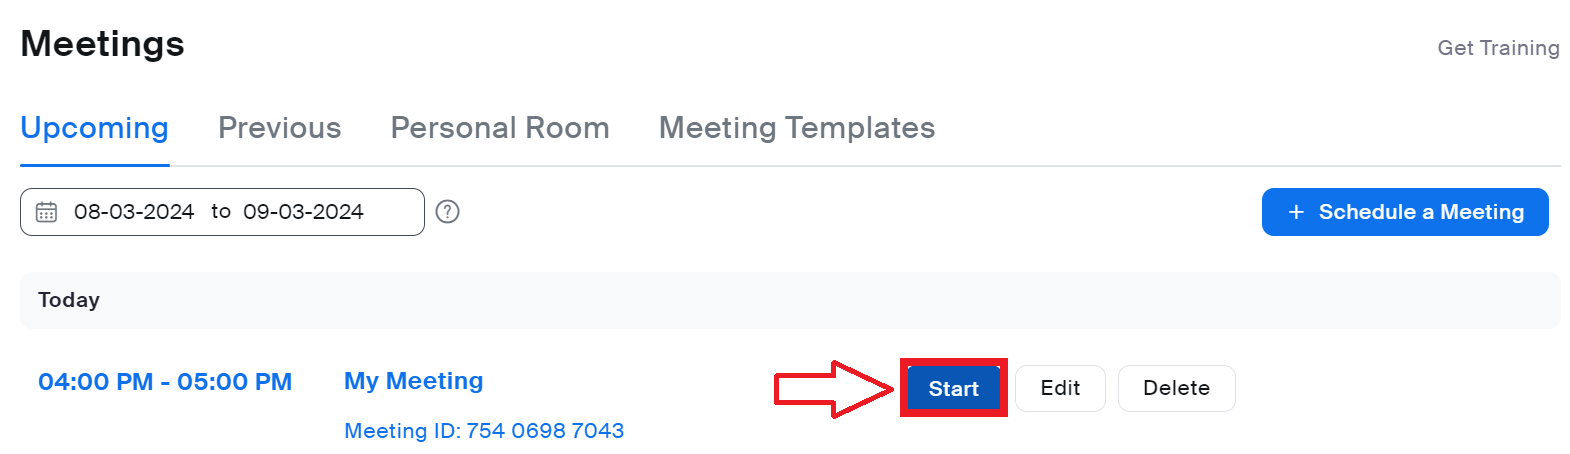
How to Start and Manage a Zoom Meeting
Once your meeting is scheduled, you can launch and manage it directly from the Zoom app or web portal.
- Open the Zoom desktop app or sign in at zoom.us.
- Go to the Meetings tab and find your scheduled meeting.
- Click Start next to the meeting you want to launch.
Before participants join, you can test your setup:
- Click the audio settings icon to test your speaker and microphone.
- Open video settings to preview your camera and adjust lighting or angle.
- (Optional) Choose a virtual background from the video menu.
Once the meeting starts, manage participants using these tools:
- Admit people from the Waiting Room by clicking Participants, then Admit.
- Mute or unmute attendees as needed to manage background noise.
- Use the chat panel to send messages to everyone or privately. You can also disable chat in the meeting settings.
To split participants into smaller groups:
- Make sure Breakout Rooms are enabled in your settings.
- During the meeting, click Breakout Rooms to create and assign groups.
- Monitor discussions by joining rooms, send broadcast messages, and close the rooms when ready to bring everyone back.
How to Invite Participants to a Zoom Meeting
Once your meeting is scheduled, you can invite participants by sharing the meeting link or sending a calendar invite.
- After scheduling the meeting, go to the Meetings tab in the Zoom app or Zoom web portal.
- Click on the meeting title to open the details.
- Click Copy Invitation or copy the Join URL directly.
- Share the link via:
- Email: Paste the meeting details into a new email and add your attendees.
- Calendar Invite: If you selected Google Calendar, Outlook, or another service when scheduling Zoom meetings, Zoom will automatically generate an event with the meeting info. Open it and add invitees.
- Chat apps: Share the link in Slack, Microsoft Teams, or any messaging app your team uses.
To make sure participants are prepared, you can include a short message with the meeting purpose, agenda, or any files they should review beforehand.
How to Record a Zoom Meeting
Recording a Zoom meeting helps review discussions or share with people who couldn’t attend. You can record locally to your computer or to the cloud (cloud recording requires a paid plan).
- Start your meeting as the host.
- Click the Record button in the Zoom toolbar.
- Choose where to save the recording:
- Record on this Computer for a local file
- Record to the Cloud if you're using a paid account
- You’ll see a recording indicator on the screen. You can pause or stop the recording at any time using the controls.
- When the meeting ends, Zoom will process the recording:
- Local recordings are saved to your computer (usually in the Zoom folder inside Documents).
- Cloud recordings are accessible in your Zoom web portal under Recordings.
⚠️ Always let participants know you're recording and get their consent if required by your local laws.
{{rt_cta_ai-convenience}}
How Tactiq Improves Your Zoom Meeting Experience
After your meetings are scheduled, you can use tools like Tactiq to automatically capture key moments, generate summaries, and automate follow-up—so you can focus on the conversation, not the admin work.
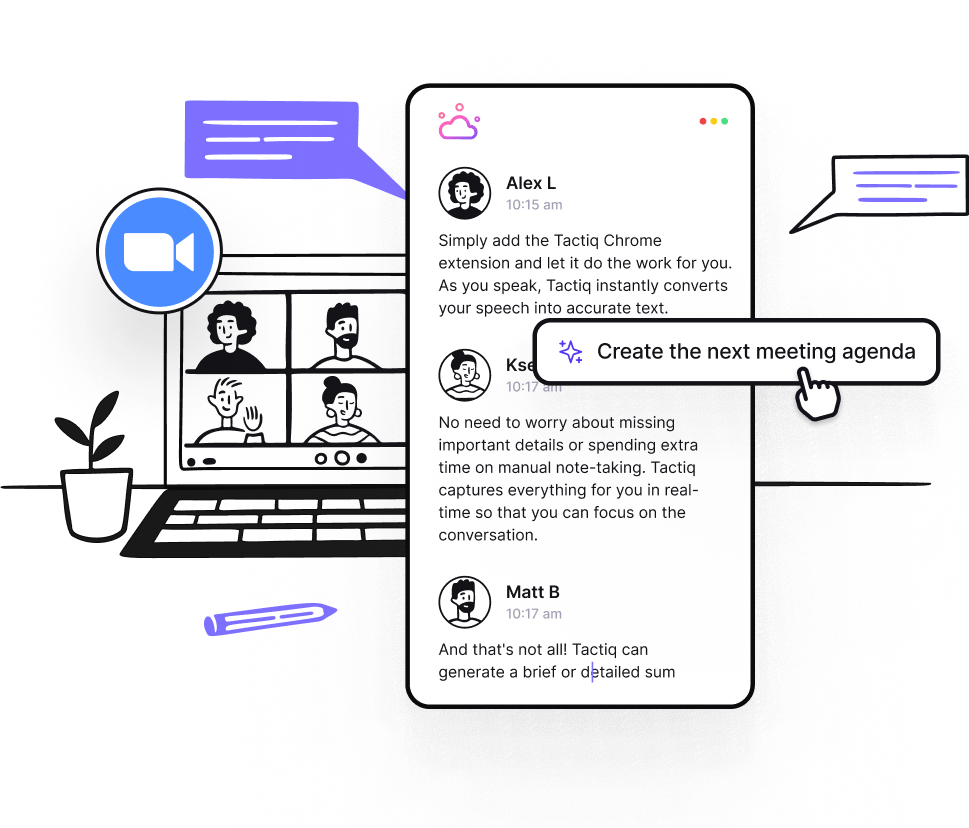
Tactiq is an AI-powered meeting assistant that integrates with Zoom, helping you get more out of every meeting without taking manual notes. Once your meeting begins, Tactiq starts transcribing in real time and giving you instant access to the full conversation.
Here’s what you can do with Tactiq in your Zoom meetings:
- Live Transcription: View real-time transcriptions directly in Zoom. No need to scramble for notes—everything is captured as it happens.
- AI-Generated Summaries: Get instant summaries after the meeting with AI note-taking in Zoom, including action items, key decisions, and highlights.
- Automated Workflows: Send meeting insights directly to tools like Notion, HubSpot, or Linear—perfect for automating tasks across your team.
- Transcribe Past Meetings: Upload Zoom recordings to get full transcripts and AI-powered summaries even after the call ends.
- Multi-language Support: Transcribe meetings in over 50 languages to easily collaborate with global teams.
Tactiq doesn’t just help you capture what was said—it helps you act on it. From scheduling to follow-up, it's the easiest way to stay organized and keep everyone aligned.
👉 Download the free Tactiq Chrome Extension to start using it in your Zoom meetings today.
Make Every Zoom Meeting Count
Scheduling and managing Zoom meetings doesn't have to be complicated. Once your account is set up, you can schedule meetings from your desktop, mobile app, or favorite calendar tool—and even automate the process with recurring meetings or third-party apps. From there, tools like Tactiq help you stay focused by handling live transcription, summaries, and follow-up tasks automatically.
By combining the right setup with smart tools, you can spend less time managing meetings and more time making them count.
You create a Zoom account by visiting zoom.us, clicking 'Sign Up Free,' entering your email, confirming via the activation link, and setting a secure password. This quick process gets you ready to schedule or join meetings, so you can start collaborating right away.
Each Zoom plan offers different participant limits, meeting durations, and features. For example, Basic is free with a 40-minute group meeting cap, while Pro and higher plans remove time limits, add cloud storage, and unlock advanced tools—helping you choose the right fit for your team’s needs.
On desktop, open Zoom, click 'Schedule,' fill in meeting details, set security options, and save to send invites. On mobile, tap 'Meetings,' then 'Schedule,' enter your info, adjust settings, and tap 'Done.' This flexibility lets you organize meetings from any device, keeping your workflow smooth.
Tactiq automatically transcribes your Zoom meetings in real time, generates instant AI-powered summaries, and automates follow-up tasks. You save time and never miss key details, so you can focus on the conversation instead of manual note-taking.
After scheduling, copy the meeting link or use a calendar invite to share details via email, chat apps, or your preferred calendar. Including a short message with the agenda or files helps everyone arrive ready, making your meetings more productive.
Related articles


_Main.jpg)


Want the convenience of AI summaries?
Try Tactiq for your upcoming meeting.
Want the convenience of AI summaries?
Try Tactiq for your upcoming meeting.
Want the convenience of AI summaries?
Try Tactiq for your upcoming meeting.