How to Connect AirPods to a MacBook: Step-by-Step Guide
December 19, 2024
December 19, 2024
June 12, 2025
June 12, 2025
Connecting your AirPods to a MacBook is easy, whether you're using AirPods 2, AirPods Pro, or any other model. Keeping your software updated helps in maintaining a smooth connection.
In this article, you’ll learn how to connect your AirPods to a Mac computer. You can also learn how to connect your AirPods to an Android device.
How to Ensure Compatibility and Update Software
First, check if your MacBook’s macOS version is compatible with your Apple AirPods. Over the years, different MacBook models have introduced updates that impact compatibility with accessories like AirPods. For example, AirPods 2 requires macOS Mojave 10.14.4 or later, while AirPods Pro needs macOS Catalina 10.15.1 or later. Understanding the history of MacBook models can provide insights into how hardware and software changes affect connectivity. Ensure your macOS version supports your AirPods model to avoid any connection issues.
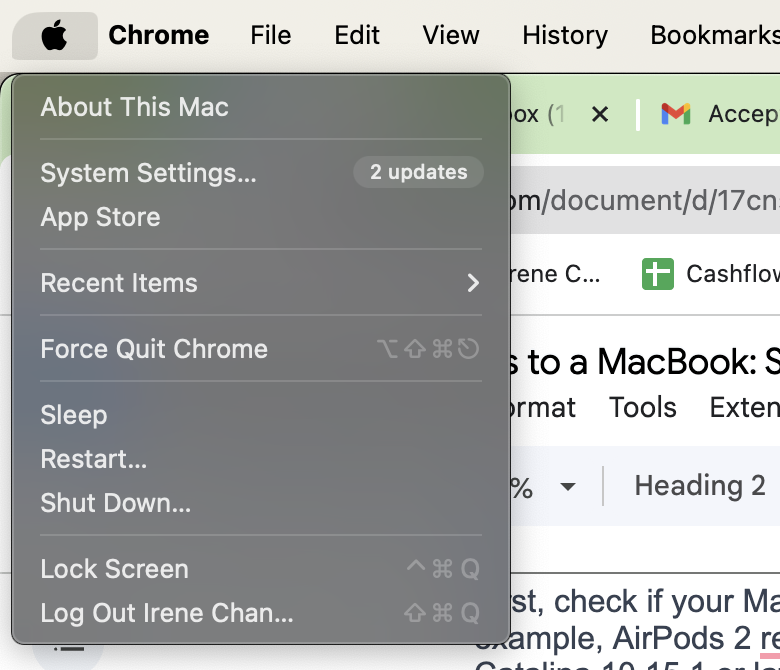
Next, it's essential to keep your software updated. Apple frequently releases updates to fix bugs and improve performance. Go to the Apple menu, select "System Settings," then choose "Software Update."

How to Pair AirPods Automatically
Using iCloud makes pairing your AirPods with your MacBook simple. If your AirPods are already set up with your iPhone, and both devices are signed in to iCloud with the same Apple ID, they should connect to your MacBook automatically. Just place your AirPods in your ears, click the Control Center in the menu bar, select Bluetooth, and choose your AirPods from the list.
How to Manually Connect AirPods to a MacBook
Sometimes, automatic pairing fails, and you need to connect your AirPods to your MacBook manually. Follow these steps for a successful connection.
Activating Bluetooth on the MacBook
First, confirm that Bluetooth is active on your MacBook. Without Bluetooth, your AirPods won't connect. Here's how to activate it:
- Click the Apple icon in the upper left corner of your screen.
- Choose "System Settings."
- Click "Bluetooth."
- Make sure the Bluetooth toggle is switched to "On."

With Bluetooth active, you're ready to manually pair your AirPods.
Steps to Manually Pair AirPods Using Bluetooth System Settings
Once Bluetooth is on, follow these steps to connect your AirPods:
- Keep both AirPods inside the charging case and open the lid.
- Activate Pairing Mode:
- For AirPods 4, double-tap the front of the case until the status light flashes white.
- For other models, press and hold the setup button on the back of the case until the status light flashes white.
- Connect via Bluetooth Settings:
- On your MacBook, select "System Settings" and select "Bluetooth."
- Find your AirPods in the list of devices.
- Click "Connect" next to your AirPods.
Troubleshooting Common Connection Issues
If your AirPods have trouble connecting, try these troubleshooting tips:
- If your AirPods appear in the Bluetooth list but won't connect, click the "X" next to them to remove them. Then, try reconnecting.
- Restart your MacBook and AirPods to reset any lingering connection issues.
- If problems continue, reset your AirPods by holding the setup button until the status light flashes amber, then white again.
Ensuring AirPods are Selected as the Output Device
After pairing, ensure your AirPods are the selected output device:
- Click the Control Center in the menu bar.
- Click "Sound."
- Choose your AirPods from the list of output devices.
Resolving Issues with Manual Connection
If you encounter problems, try these solutions:
- Ensure both AirPods and the case have enough charge.
- Disconnect other Bluetooth devices to reduce interference.
- On the MacBook, go to "System Settings" > "Network" and reset settings if needed.
Benefits of Using Manual Pairing When Automatic Fails
Manual pairing offers several advantages:
- You have more control over the connection process, which can be helpful when automatic pairing fails.
- Manual pairing allows you to identify and fix specific issues.
- This method can provide a more stable connection, especially in environments with many Bluetooth devices.
{{rt_cta_ai-convenience}}
Make Your Meetings More Productive with Tactiq

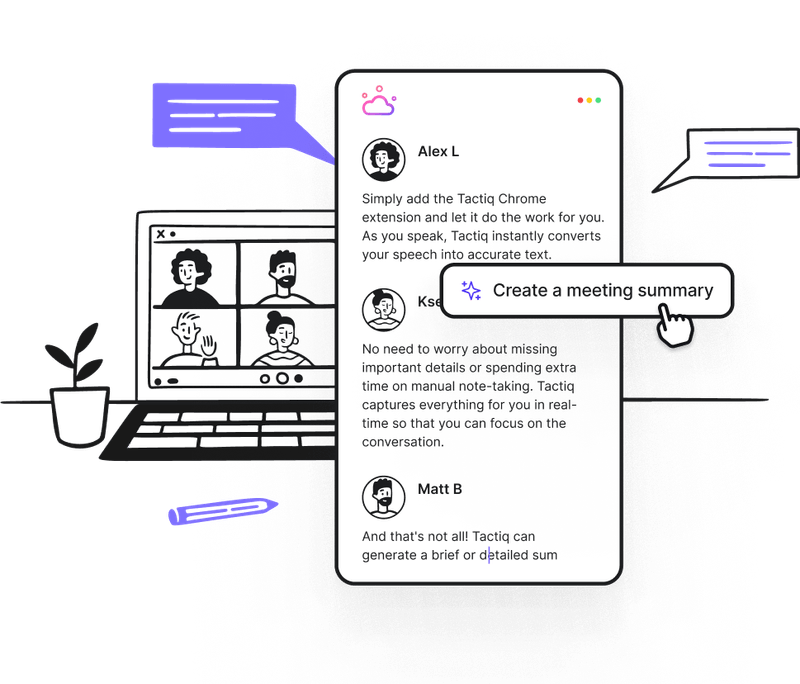
Now that you’ve learned how to connect your AirPods to a MacBook, you can enhance your productivity by pairing them with Tactiq. No matter which platform you use—Zoom, Google Meet, or Microsoft Teams—Tactiq improves your meeting experience:
- Real-Time Transcriptions: Focus on the discussion while Tactiq transcribes every word accurately.
- AI Summaries: After the meeting, get concise summaries with key points and action items, so you can move forward with clarity.
- Smart Workflows: Automate post-meeting tasks like updating CRMs, creating tickets, or syncing insights to tools like Slack and Notion.
- Custom AI Prompts: Turn transcripts into follow-up emails, project updates, or reports tailored to your needs with Tactiq's AI capabilities.
Ensure your MacBook's Bluetooth is turned on and your AirPods are in pairing mode. Also, check that your macOS version is compatible with your AirPods model.
Open the AirPods case lid, and press and hold the setup button on the back until the status light flashes white.
Make sure your AirPods have enough battery, your MacBook’s Bluetooth is active, and no other device is connected to the AirPods. Restarting both devices can also help.
Yes! If your devices are signed in with the same Apple ID and iCloud, your AirPods will automatically switch between them.
Go to the Control Center in the menu bar, select "Sound," and choose your AirPods as the output device.
Want the convenience of AI summaries?
Try Tactiq for your upcoming meeting.
Want the convenience of AI summaries?
Try Tactiq for your upcoming meeting.
Want the convenience of AI summaries?
Try Tactiq for your upcoming meeting.


