Screen Record on Chromebook: Step-by-Step Guide
February 20, 2025
February 20, 2025
June 6, 2025
June 6, 2025

Have you ever needed to record your Chromebook screen and didn't know where to start? Chromebooks make screen recording easy and accessible for everyone.
In this guide, we'll explore both built-in tools and third-party extensions to help you create screen recordings.
How to Screen Record Using Built-in Tools
Using the Chrome OS Screen Capture Tool
- Press Shift + Ctrl + Show windows (the key with a rectangle and two lines).
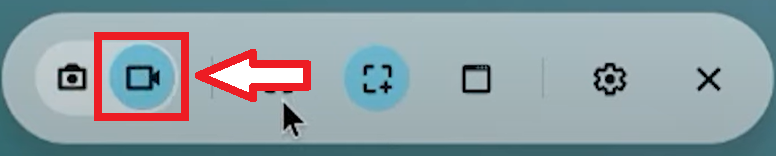
- The screen capture toolbar appears at the bottom of your screen.
- Select screen record (video icon) then select recording mode:
- Full Screen: Click the full-screen icon.
- Partial Screen: Click the partial screen icon and drag to select the area.
- Specific Window: Click the window icon and select the desired window.
- Click the record button. A countdown begins, and recording starts.
- Click the red stop button in the bottom-right corner.
- Find your screen recordings in the Downloads folder.
Using Third-Party Extensions for Screen Recording
Screencastify

- Add Screencastify to your Chrome browser.
- Follow the on-screen instructions to configure permissions.
- Configure Recording Settings:
- Full Screen: Record the entire screen.
- Browser Tab: Record a specific browser tab.
- Webcam: Record through your webcam.
- Click the Screencastify icon and hit record.
- Use the toolbar to pause or stop.
- Use Screencastify’s built-in editor for basic edits and share directly from the extension.
Loom
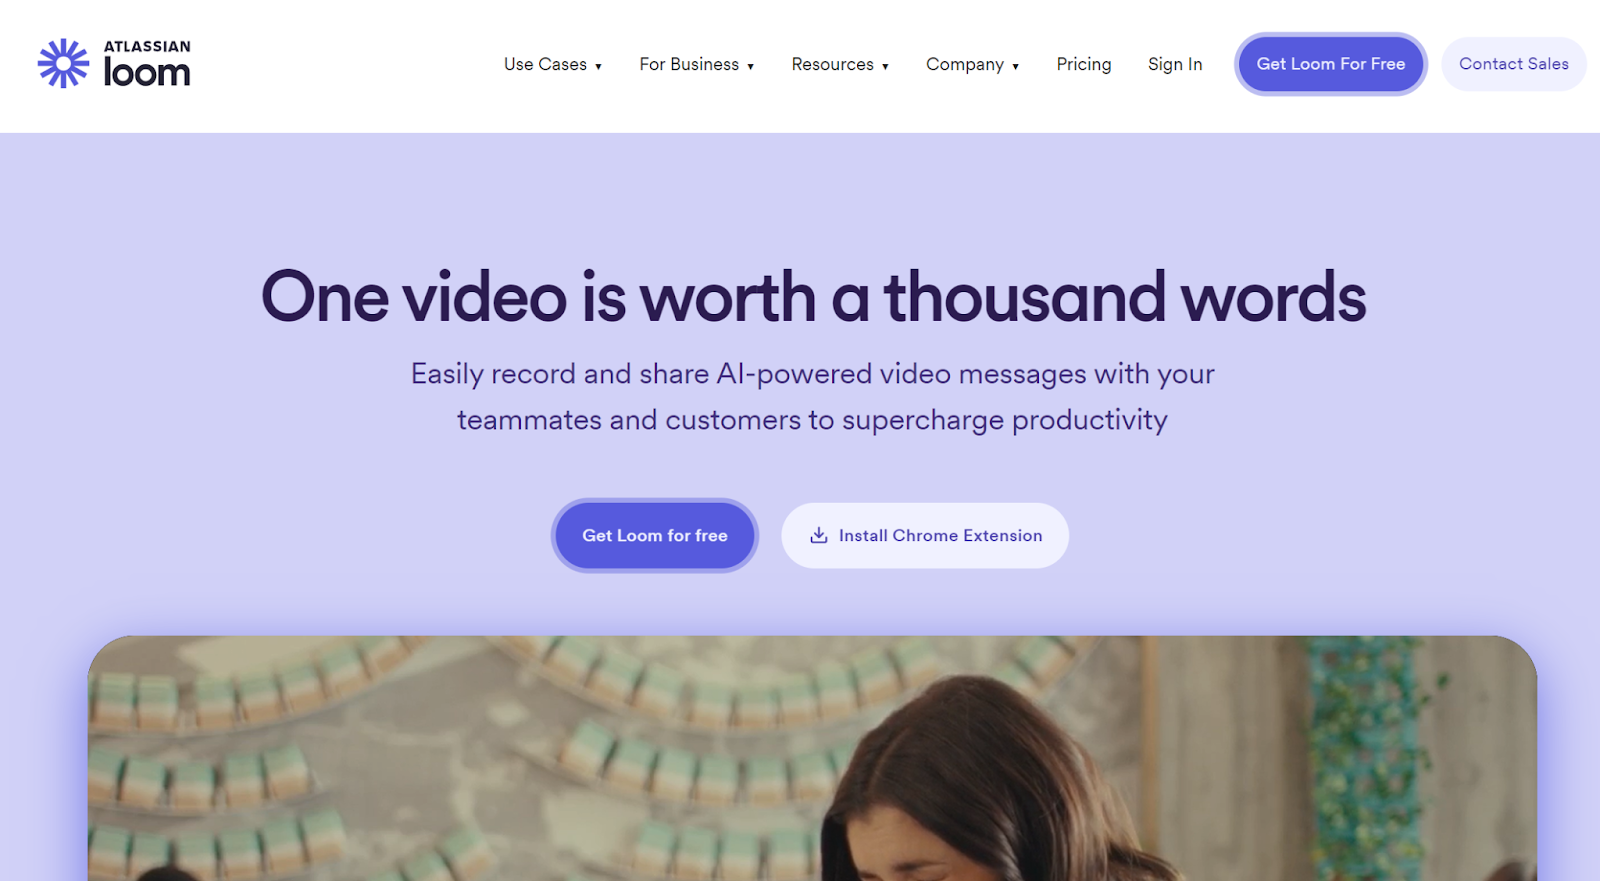
- Install Loom by adding it from the Chrome Web Store.
- Sign up and configure the extension.
- Choose recording preferences: record your screen, camera, or both.
- Click the Loom icon to start recording.
- Use Loom’s editor to trim and annotate videos.
- Access additional features, including annotation and team collaboration tools.
Managing Screen Recording Permissions on Chromebooks
Granting the right permissions is essential for smooth screen recording on your Chromebook. Without proper permissions, you might face issues like missing audio or incomplete recordings.
To begin, open the settings on your Chromebook:
- Located at the bottom-right corner of your screen, this opens the Quick Settings panel.
- This icon, located at the top-right of the Quick Settings panel, takes you to the System Preferences.
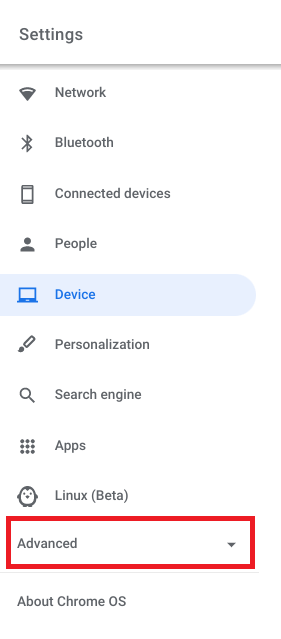
- Look for the section labeled "Advanced" and click on it to expand more options. This section houses all the necessary settings for managing permissions.
- Within the Security & Privacy section, locate "Screen Recording."
- Toggle the Permissions:
- For Chrome: Ensure the toggle switch next to Chrome is turned on.
- For Other Apps: If you use third-party screen recording apps like Screencastify or Loom, make sure their permissions are also enabled.
- Completely exit the Chrome browser to apply the new settings.
- Open Chrome again. This step ensures that all the permissions you granted are now active.
{{rt_cta_ai-convenience}}
Tactiq: An Alternative for Recording Notes
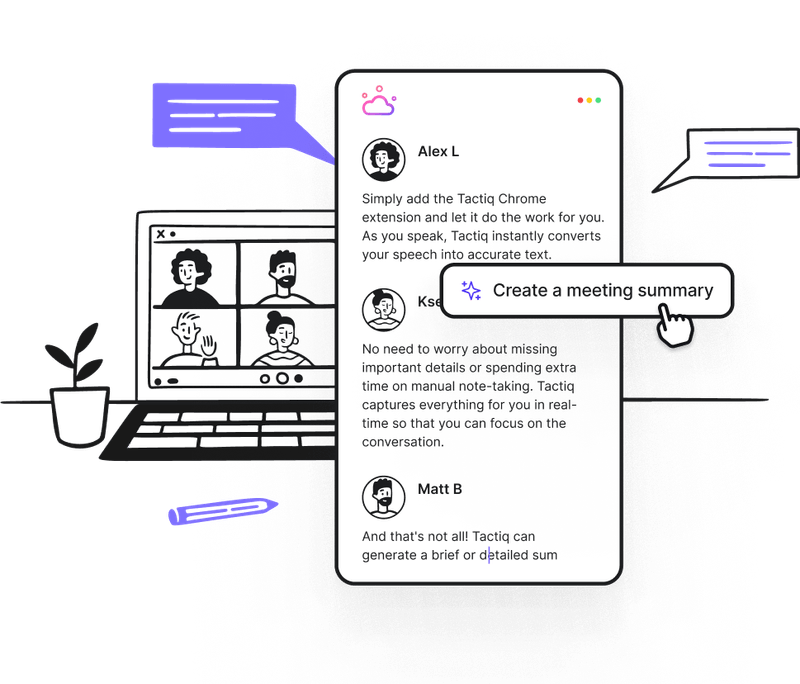
If you’re looking for another alternative for screen recording notes, Tactiq provides real-time transcription for virtual meetings. Capture every detail without needing a recording.
- Tactiq transcribes meetings on Zoom, Google Meet, and Microsoft Teams, creating a searchable text record of essential points.
- Customize AI prompts to highlight insights, action items, and summaries that matter to you.
- Automate follow-ups, create project updates and track the next steps directly from your meeting notes.

便利なAIサマリーが欲しいですか?
次回のミーティングで Tactiq をお試しください。
便利なAIサマリーが欲しいですか?
次回のミーティングで Tactiq をお試しください。
便利なAIサマリーが欲しいですか?
次回のミーティングで Tactiq をお試しください。